I finally decided to do a build thread write-up for my project. I fell in love with café bikes and wanted to do my own brand. And I have to add that none of this would have been possible if not for the wealth of information on this forum and its kind, helpful and brilliant members. I welcome any and all feedback, comments, critiques or well-deserved reprimands! This is my first bike. Ever. This makes it my first bike project. Ever. It’s been a rewarding and enjoyable (for the most part) experience. And, just like so many before me, I’m already looking forward to my next one. And the next, and the next . . .
Enjoy.
The victim . . . I mean bike: 1975 Honda CB750 K5. A craigslist find that ran me $650 and some title headaches – long story, I’ll spare you. It ran (barely) when I went to check it out – didn’t get to ride it, just listened to the engine rev and kicked the tires. The seller was nice enough to deliver it to my house with his pickup the next day for free. The '75 really caught my fancy since it's the same year as me.
- 20,000 miles
- I’m the fourth owner, from what I’ve been able to ascertain – so plenty of P.O. “discoveries”.
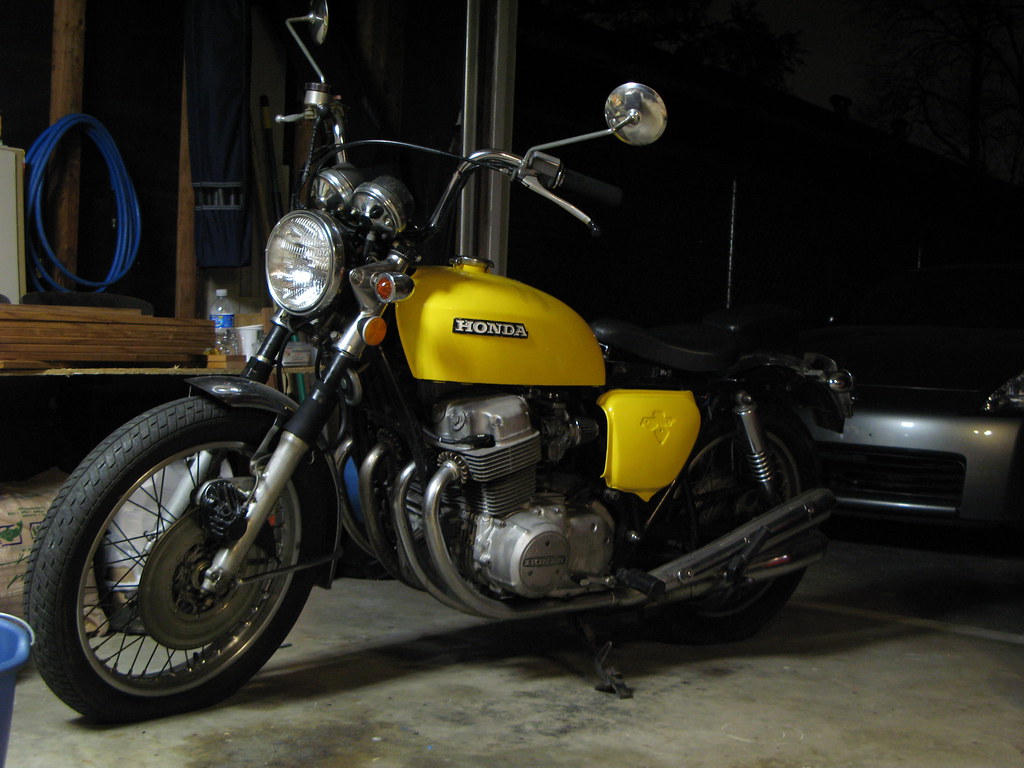
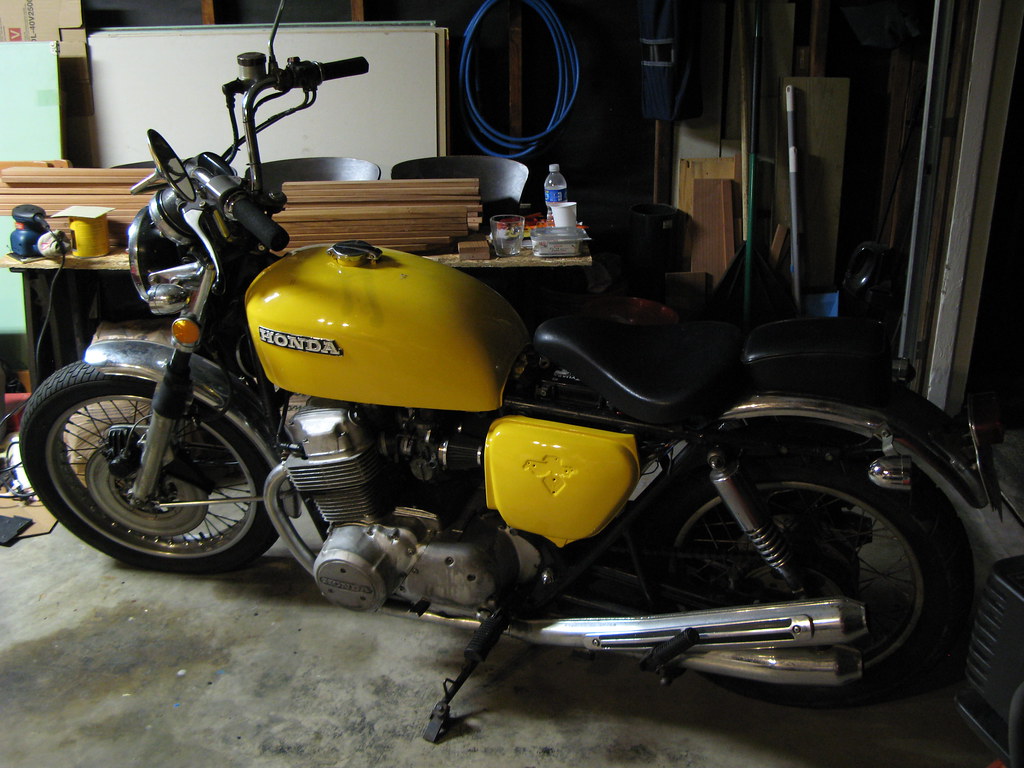
This was my starting place. Day one. Looking back, I can’t get over how tall she was!
You can see the solo seat + pillion pad the P.O. installed. I missed out on the nice OEM seat

I later realized the rear frame was chopped and modified to allow for this seat combo. Other P.O. “blessings”: the yellow paint job, the missing emblems on the side covers, some aftermarket cone filters (I did get the OEM airbox, though!), and the list goes on.
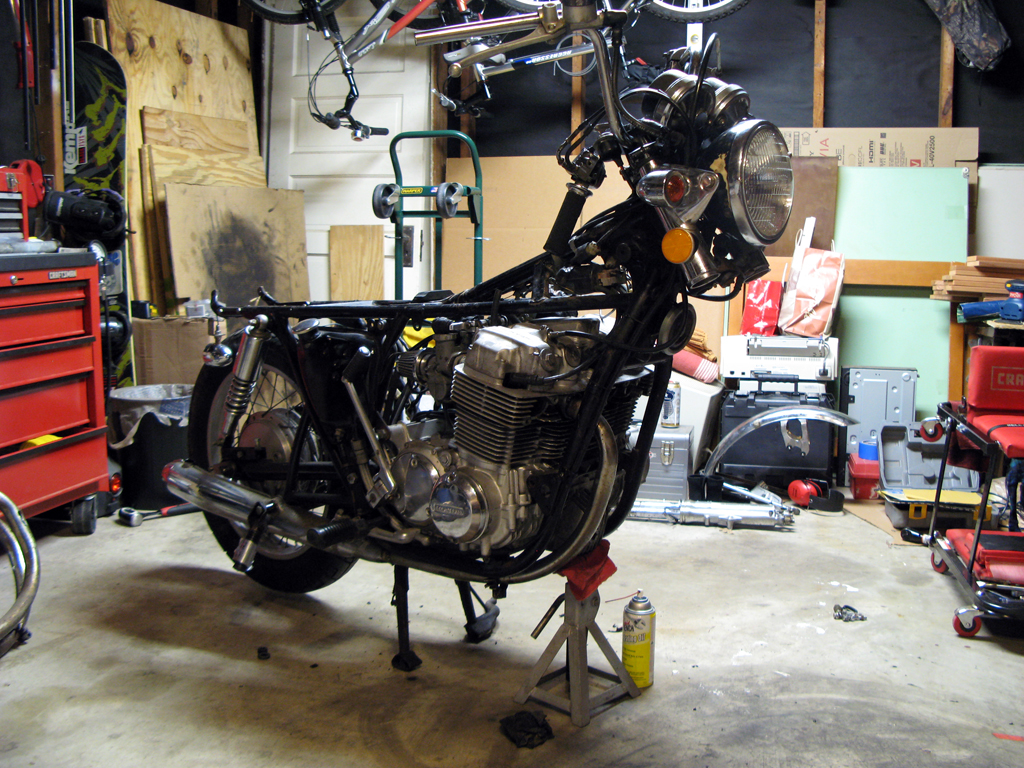
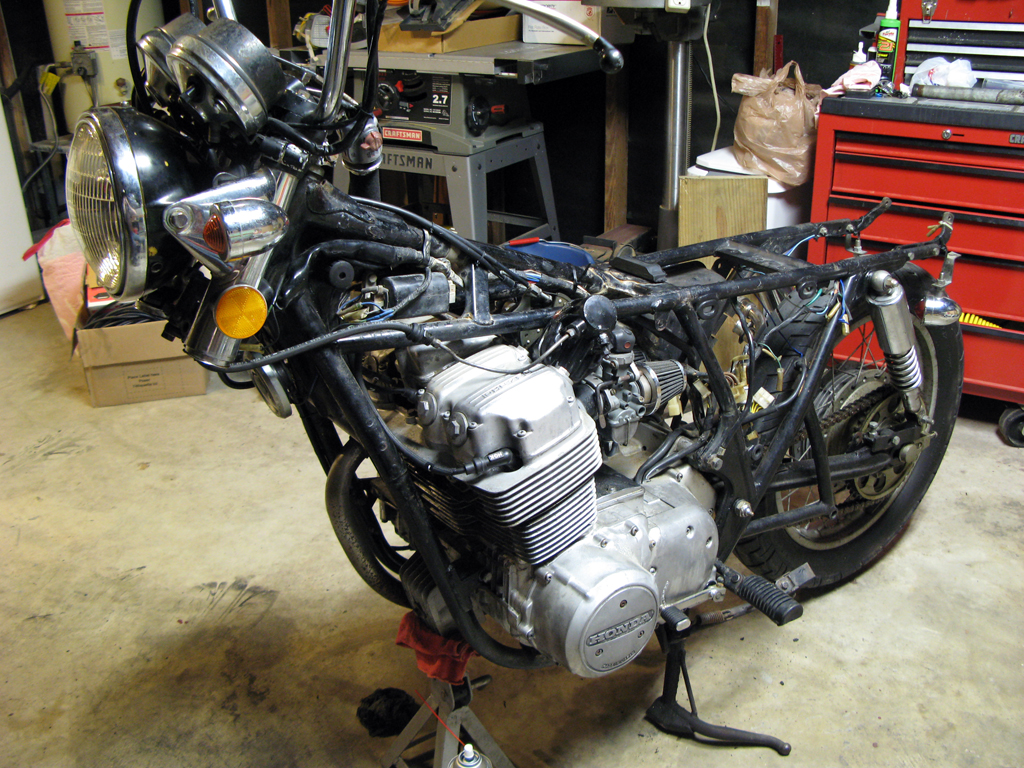
And it didn’t take long for it to start looking like this. That one lone exhaust pipe almost killed me! It took me days to remove the stuck screws at the engine, soaking it periodically with penetrating oil and wailing on it with an impact driver. I finally got it. I still need to think of a proper revenge for that screw.
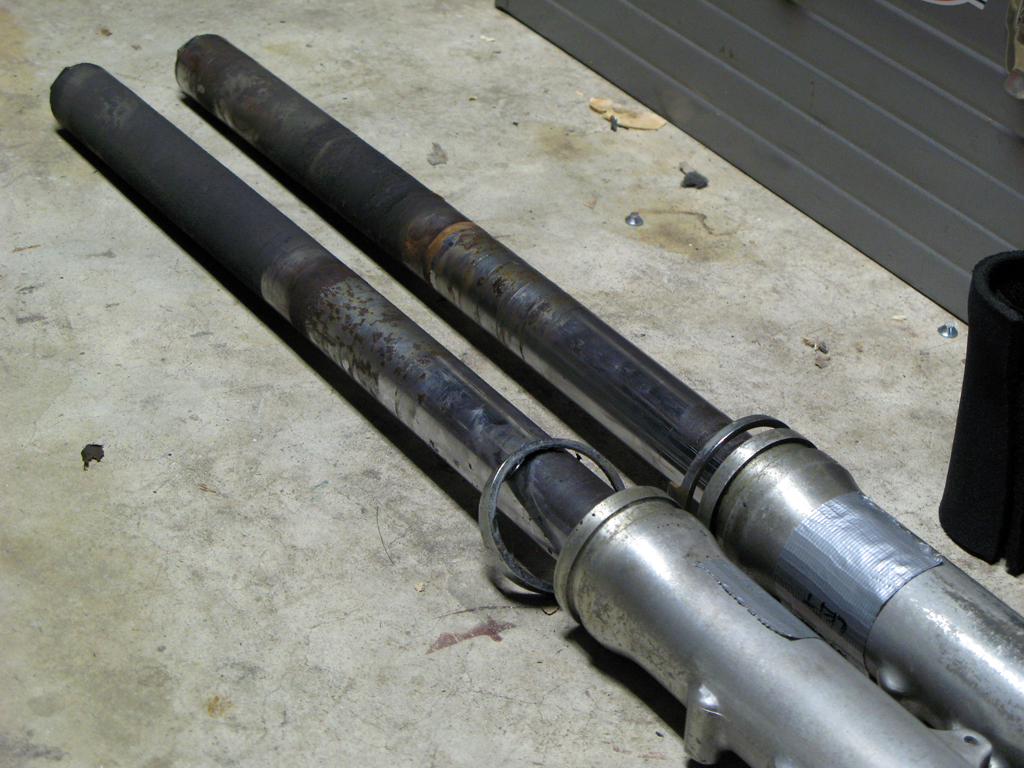
The forks were nasty. They’d both been covered with some neoprene like material to soak up all the fork oil they’d been leaking. Upon disassembly, one was completely dry. As you can see, both were quite corroded. More on the ensuing fiasco dealing with this later.
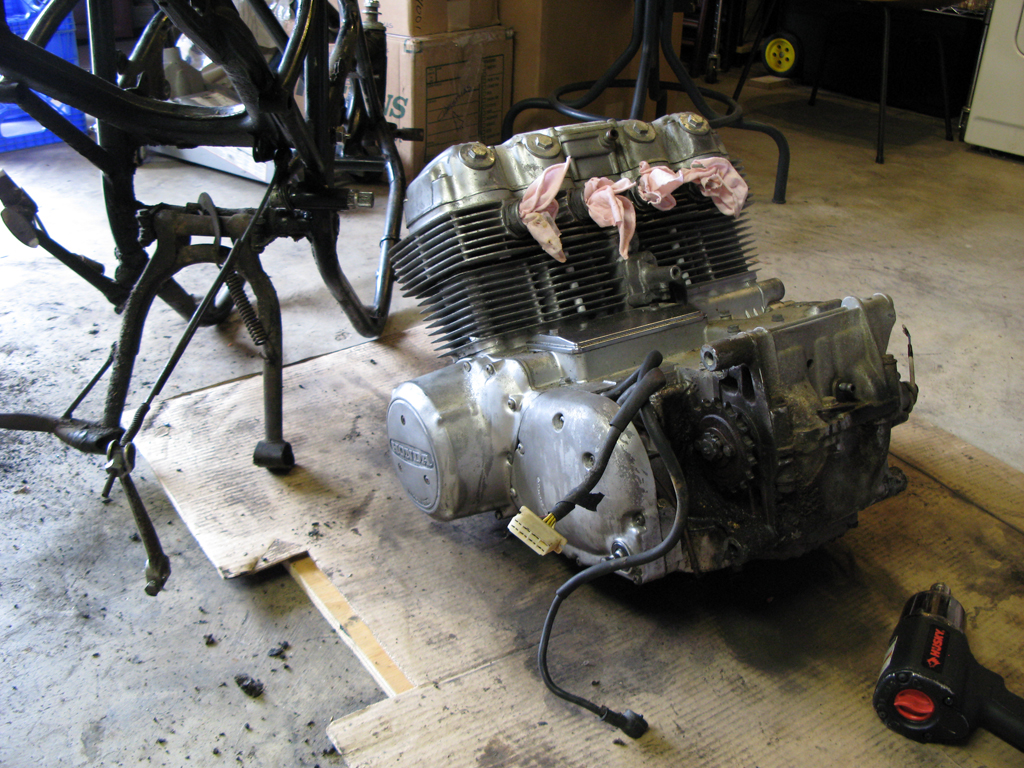
Getting this lug out was a beast of a job! When I do it again (on a subsequent build), I’ll lay the frame on its side, unbolt the mounts and lift the frame off the engine. 230 lbs and one strained back later, I had this.
Just about there with the stripping down of the frame.
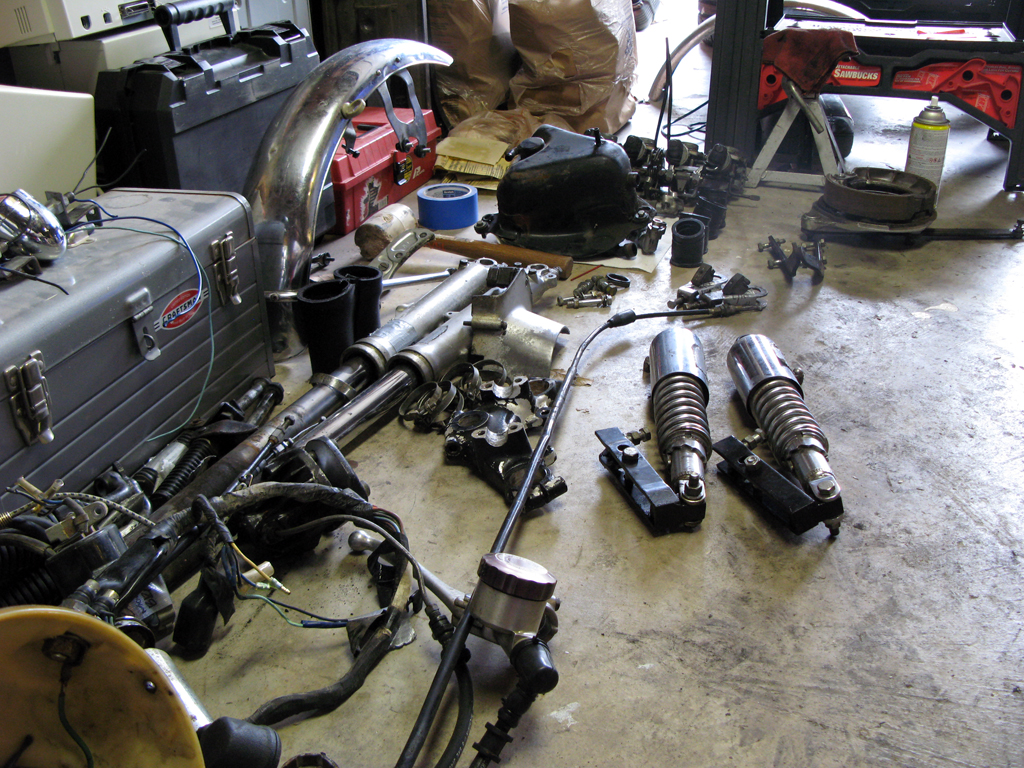
I tagged and photographed as I went, and I wish that I'd have been even more thorough. I constantly go back to photos to see how things were assembled or looked.
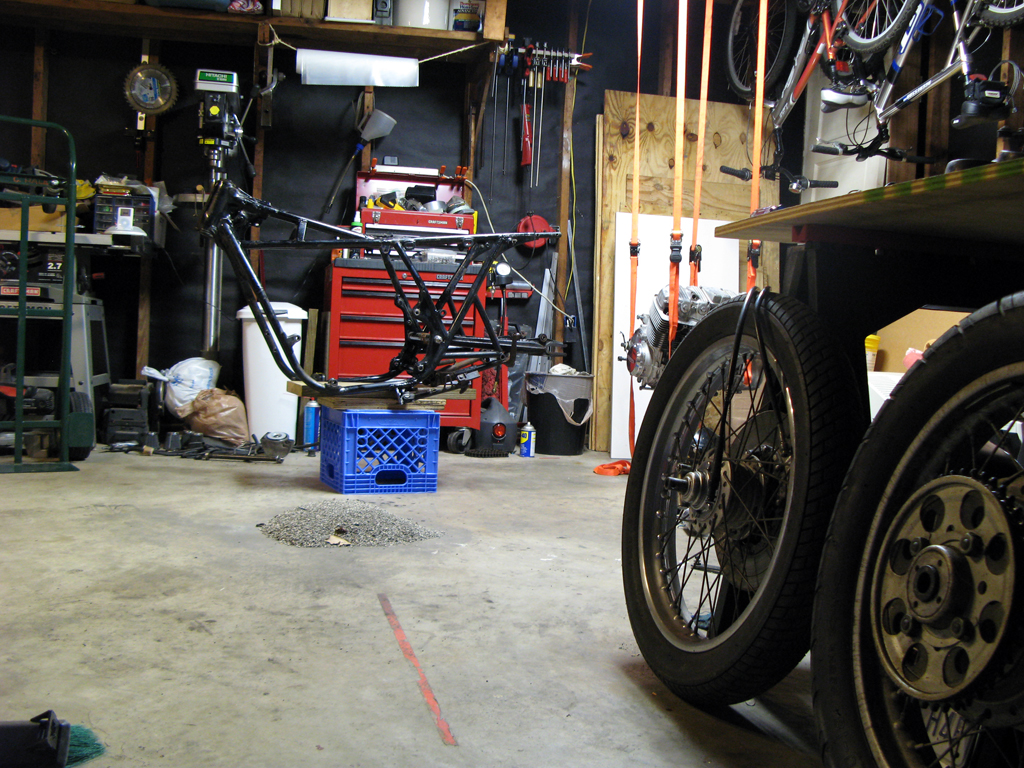
Where does all of this go?!? I’m sure I’ll remember. Famous last words?

It’s funny how one project has a tendency to spawn other projects. I borrowed a portable sand blaster. So, I needed to build a blasting cabinet. Done. Wow. It makes parts look great! I wanted to just clear coat these parts and put them back on! Maybe next time. At this point, I media blasted everything I could get my hands on. Operation of my borrowed blaster was sporadic, at best, coupled with my modestly sized compressor, so this also taught me much patience.

Next, I set my sights on polishing my fork lowers. This took time. I started with 400 grit and, step-by-step, worked my way to 2000 grit. Then polish. They turned out decent. I also had the “brilliant” idea of trying to clean up my fork tubes by having a machine shop “clean cut” them back to clean metal, similar to having a brake rotor machined. This was a bad idea. Too much material came off. I would have to use shims in the triple clamps to run these fork tubes – doesn’t seem that safe. And they only came out about 80% clean – still showed some significant pitting. I ended up replacing them. More on this later.


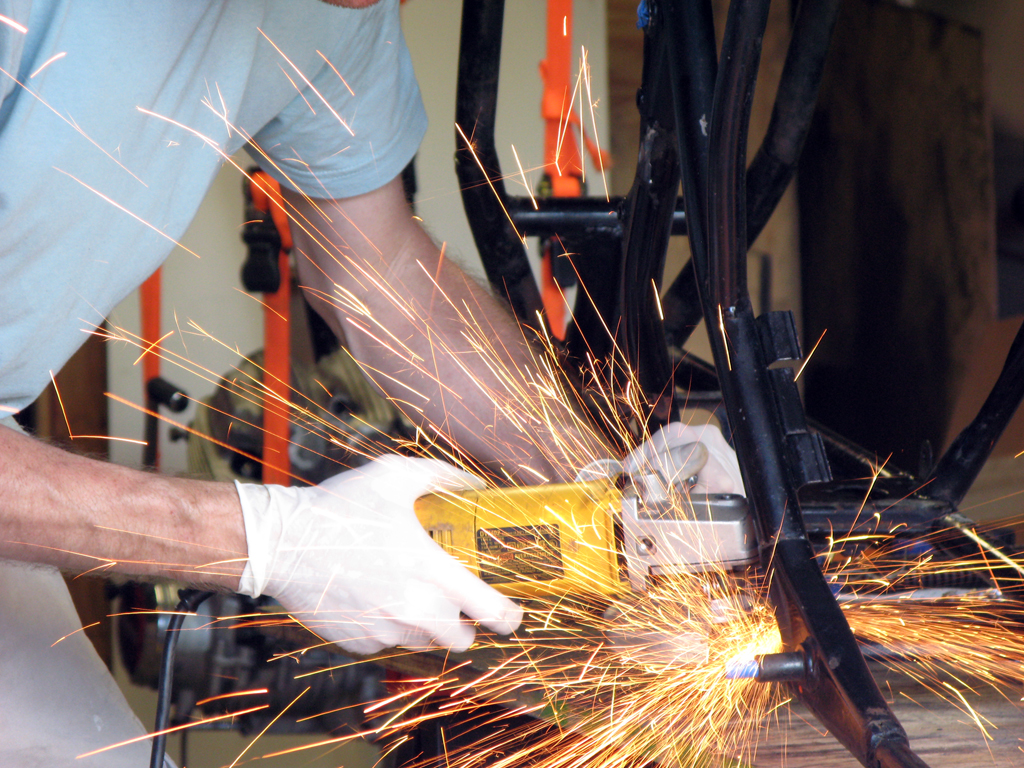
Next up: frame mods. I removed all brackets I wouldn't be using. I fabricated and welded on some brackets I designed to mount my custom oil tank (also my design and fabrication). A previous owner did some minor frame mods to accommodate a solo seat, so I cut those back and welded a "hoop" to finish off the back of the frame. Eventually, my tail light will mount here. I made a couple of other minor frame tweaks, maily to help me run hidden wiring, later on.
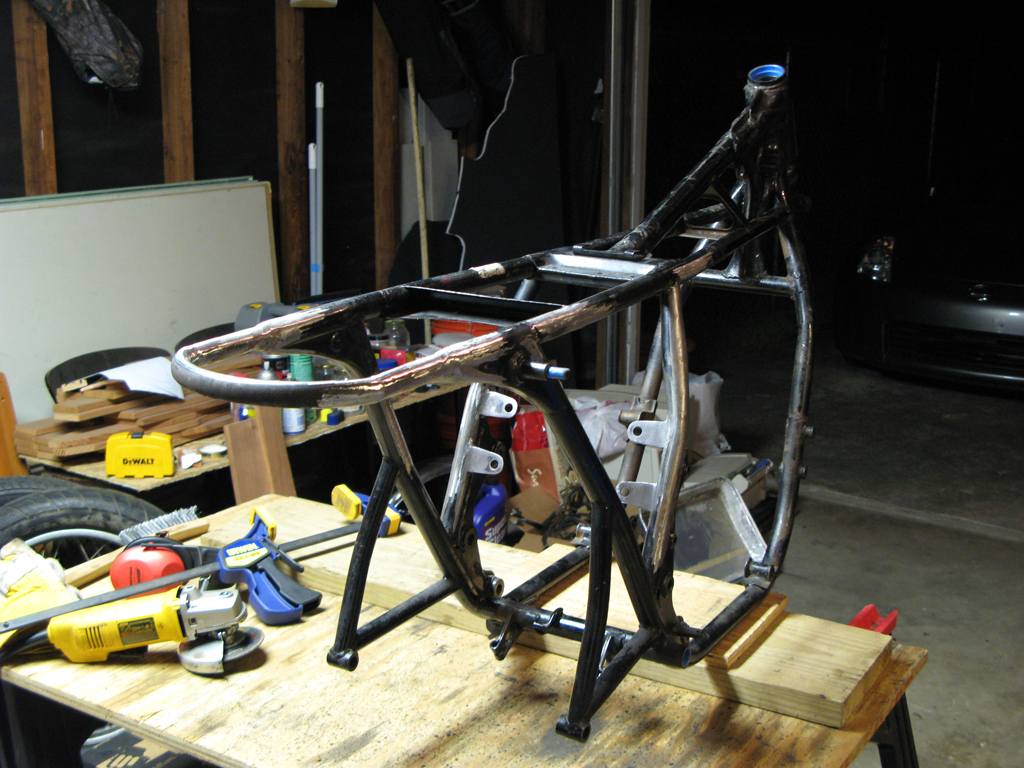

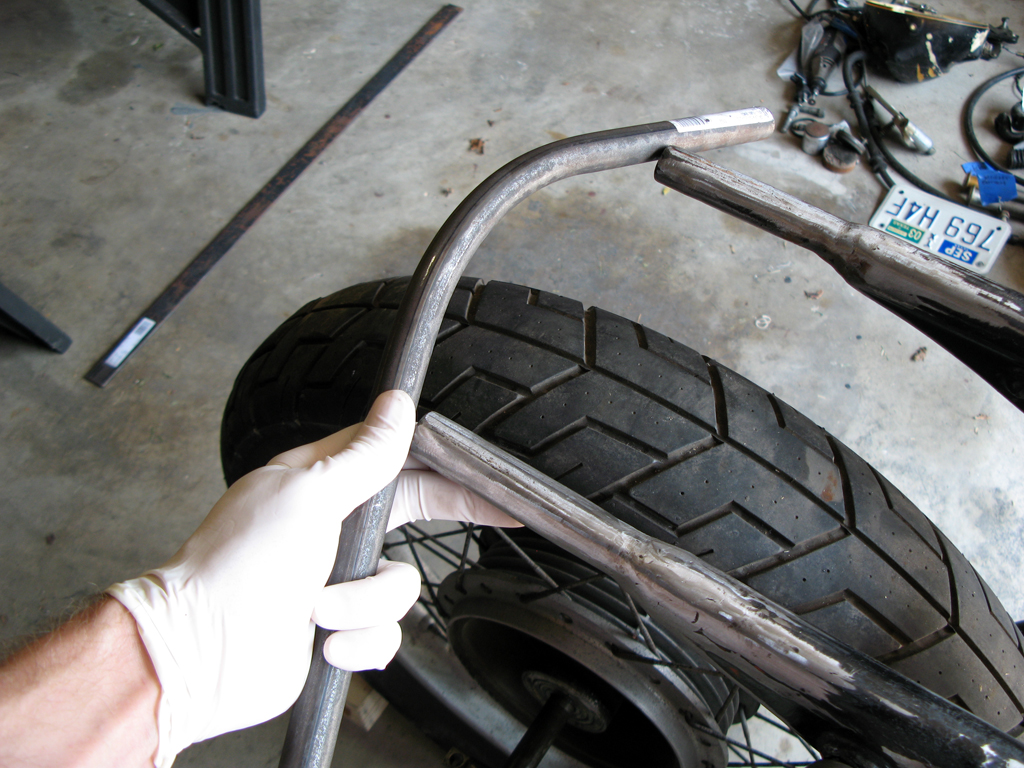
Mocking up the frame with my anticipated new battery / electronics location.
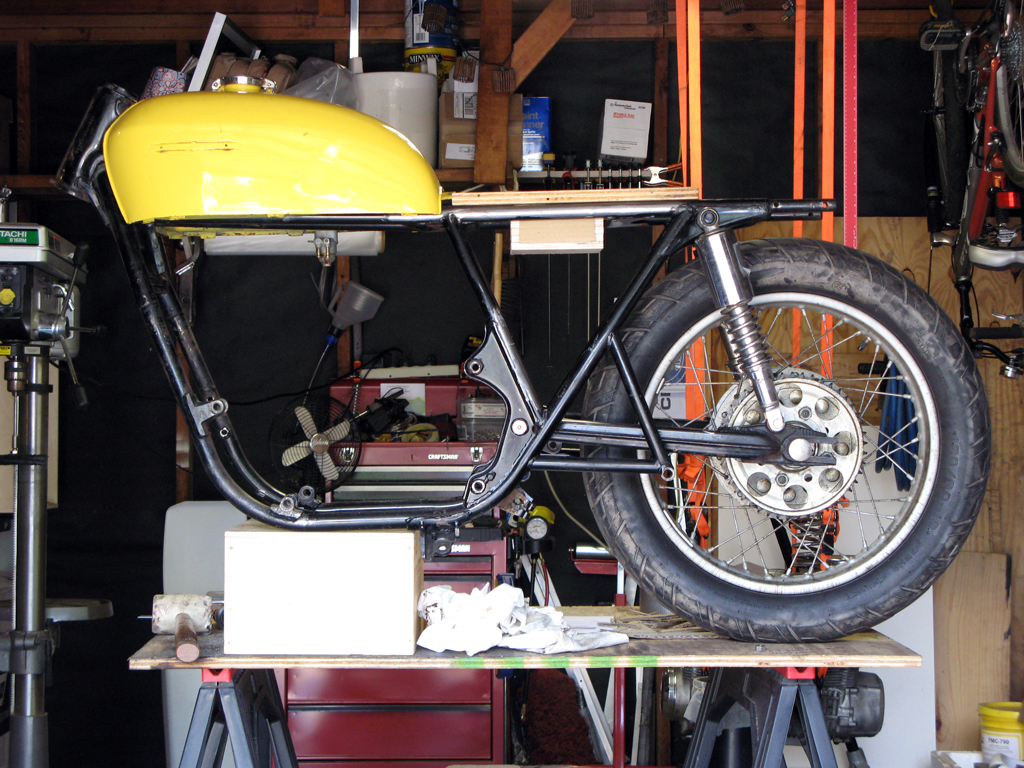
I designed a custom oil tank to help the bike achieve its new look. Then I redesigned it. Then I designed it again. And one more time. I did it so many times, I finally just need to decide on something and get moving. I began by harvesting the OEM fittings from the original tank and oil lines. I had the epiphany that I could carefully remove the clamping bands from the OEM oil line fittings, install new oil line tubing with new clamps, and I’d have custom lines, good as new, using all the original hardware. And cheaply, too, I might add.
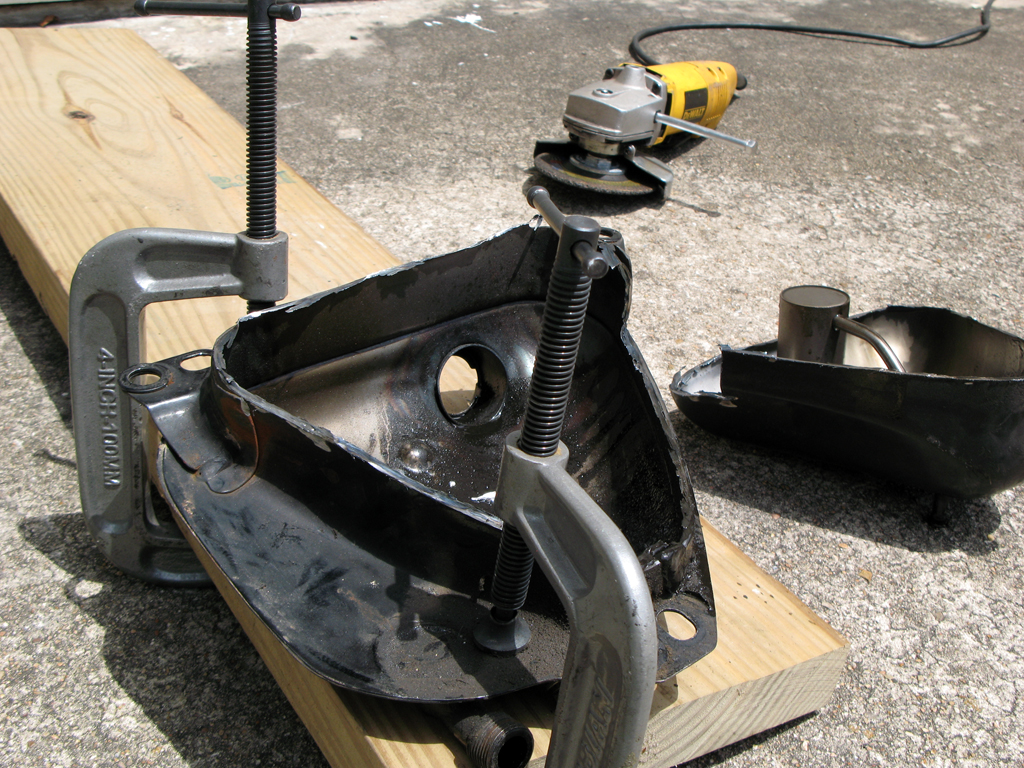

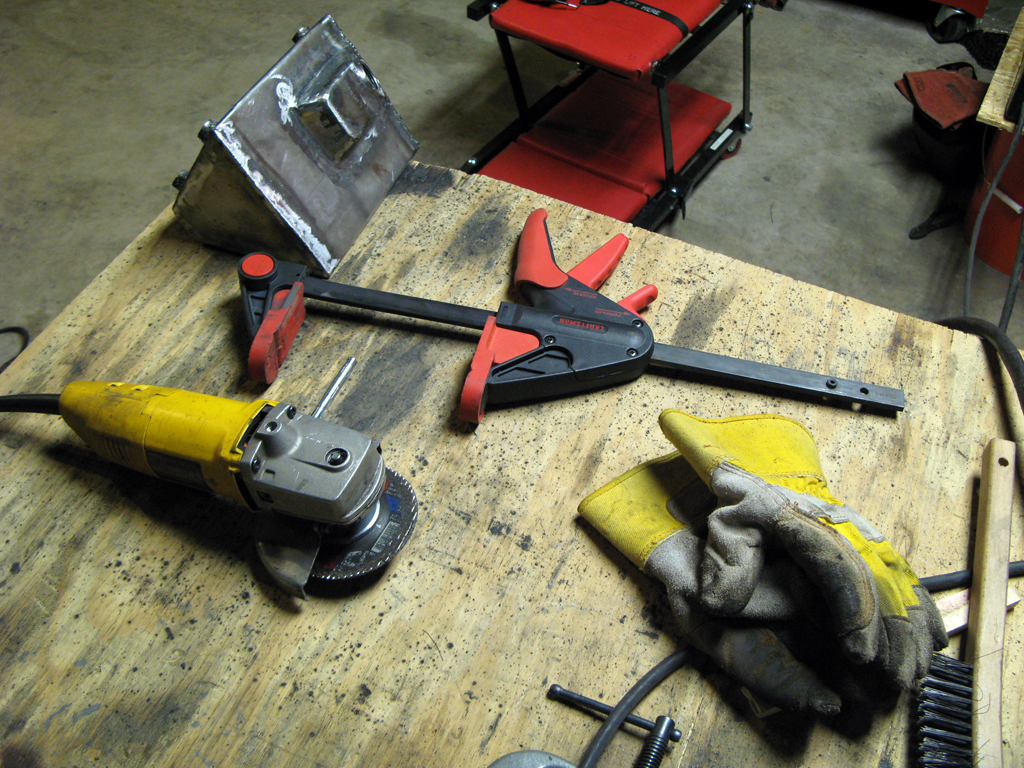
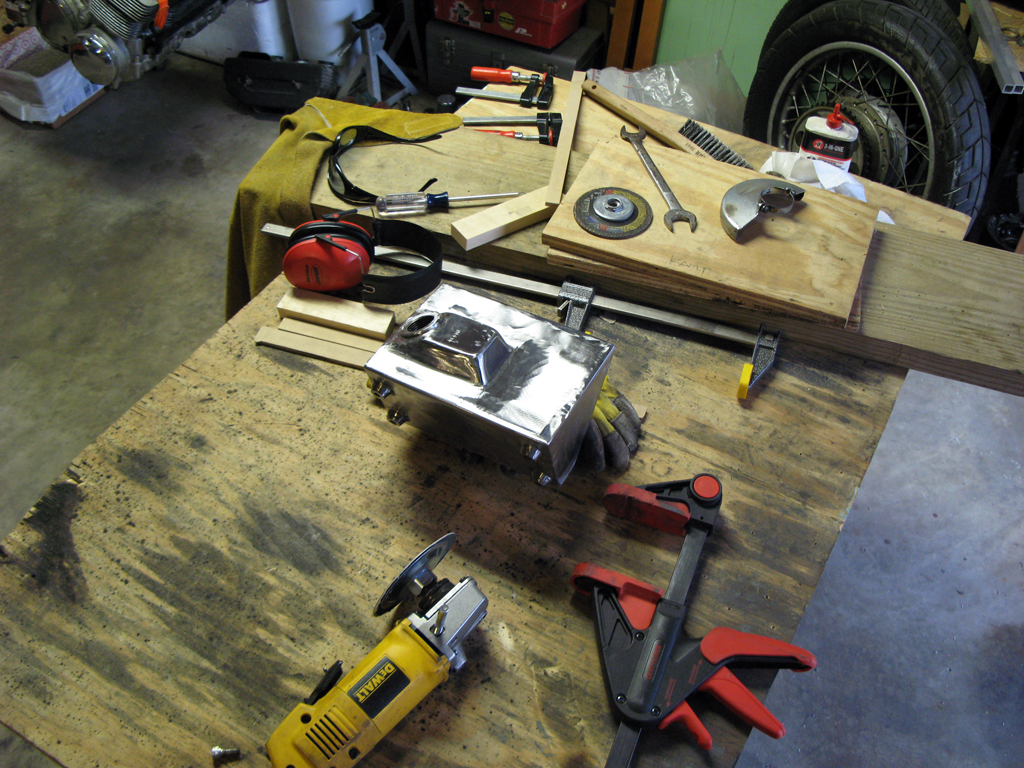
I made my own rudimentary sheet metal brake with some 2x12’s and hinges. With this, I bent the sheet metal into the right shape, meaning I only needed one weld to close the “loop” of my tank. I cut the side shapes and welded them on, along with the re-used fittings, cap bung, mounting bungs, etc. Weld, grind, repeat.


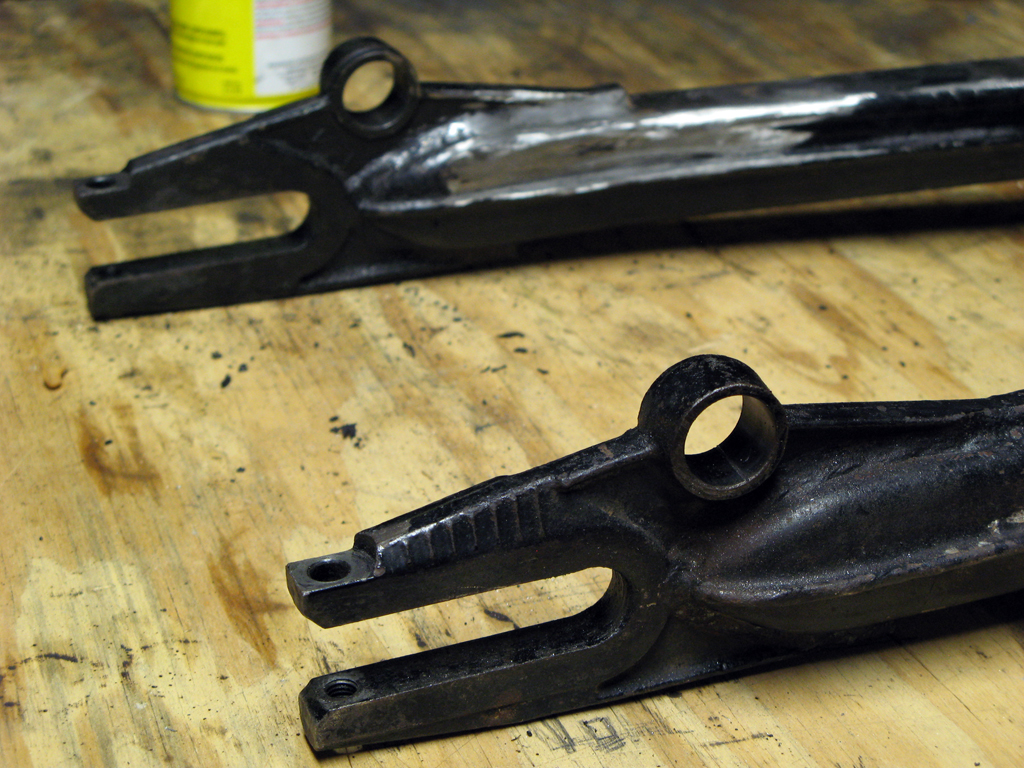
A well-known factory weak point, the swingarm bushings, were next up. As usual, I had to cut the original ones out. After much deliberation, research and input from Hondaman, I decided on his swingarm rebuild. Unfortunately, funds ran low and time kept ticking, so I ended up trying the needle bearing kit. The instructions are all in German. I think I put it all in right.


I removed the lower rubber shock mounting bushings from the swingarm next. It was tough. I used an arrangement of washers, threaded rod, nuts and sockets to enable me to use my impact gun to extract the stuck bushings.

So, while the frame + parts were off getting powdercoated, I turned my attention to cleaning, priming and painting the engine. On my worktop, I cleaned and cleaned and cleaned my engine. For two weeks I cleaned it. I used a combination of brake cleaner, lacquer thinner, wire wheels, and brushes (stainless steel, brass and nylon bristled). It took forever, but I didn't want the paint to start flaking off because of a bad bond. From there, I hung the engine in my garage and prepped, primed and painted it. I used Duplicolor's high-temp engine paint (color: cast coat iron). This paint wants a week of cure time following application but doesn’t call for and heat-curing. I'm really pleased with the look of it. I painted a few matching bits at the same time (brake caliper, rear shock covers, front fork lowers, etc).


Engine clean, degreased + masked for paint.

Engine in Duplicolor high-temp engine primer.


Engine in Duplicolor high-temp engine paint (color: cast coat iron). Finally!


Brake caliper, also in the engine enamel. We’ll see if it can hold up.

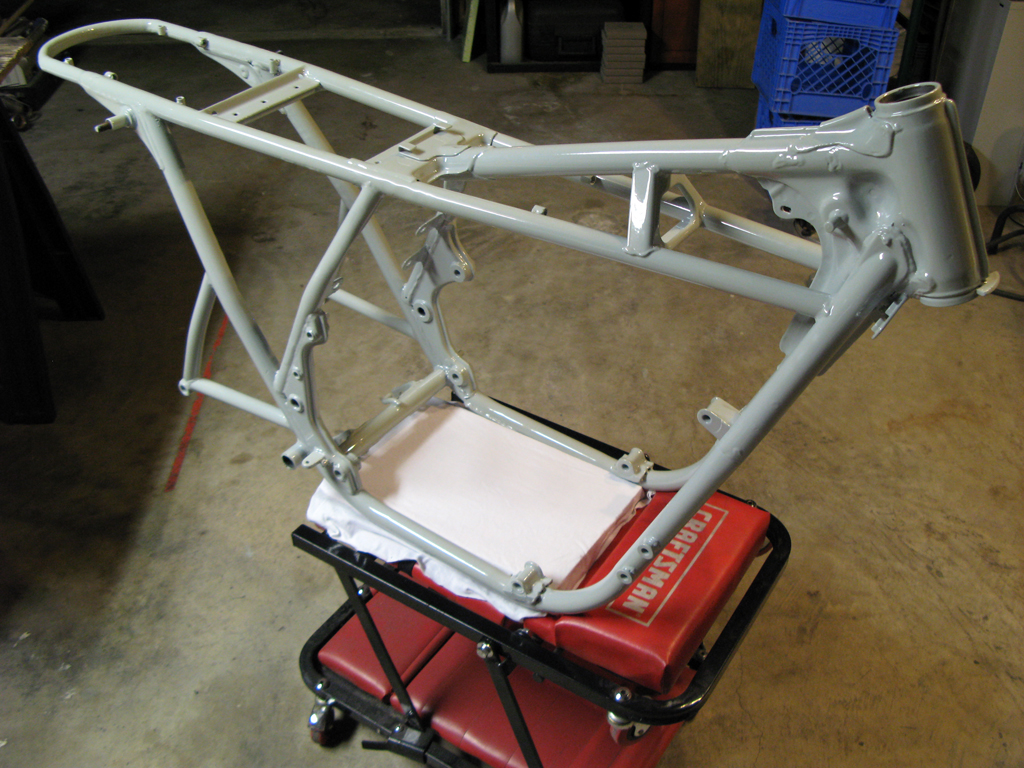
Yay! Frame and parts back from powder coat. It came out about 2 shades lighter than it was supposed to. Live and learn, I guess. I had a few other parts coated at the same time, to match (triple clamps, etc). And wow -- powdercoat is so thick! Preparation and post-coating cleaning of critical clearance areas is necessary. Thanks to Hondaman for his tips on critical and problem areas!


While the engine primer + paint was curing, I tackled my fuel tank. It had some rust in it, but not as bad as some I’ve seen – middle of the road, probably. The Works toilet bowl cleaner worked like a charm! I threw in some nuts and bolts for extra scouring action, swished, repeated, rinsed. It looks great. After using this stuff, I’ve read on this board that the trick is to neutralize the acid in the cleaner, to avoid flash rust. So, I’m planning one more round of cleaner, neutralizing if afterward this time. Since it’s been so long since I first cleaned it (couple of months), I see some signs of surface rust reappearing. Even though I coated it with some oil (WD-40, actually) to stave off the rust, this is a hot, humid climate (Houston, TX).
I also used aircraft remover to strip that yellow paint off. Beauty is in the eye of the beholder, and I didn’t care for it. This stuff worked great and burns like the devil when it gets on your skin. I discovered what I believe to be the original bike color, too. It was kind of a metallic dark eggplant purple.


Bare metal: good. Finding somebody else’s body filler: bad. I was planning to fill the badge indents with metal epoxy, anyway, so I’ll be teaching myself body work, too, it appears! I'll be painting it a warm, metallic medium silver-gray. The color should bridge the gap between the engine color and the frame color. I have a brand new petcock waiting to go on.

Where soul meets body. Or, more particularly, where engine meets frame. I laid the engine on its side and a friend and I lowered the frame over it. Once it was lined up on all the motor mounts, we hand-tightened the mounts and uprighted the bike. This is when it started looking more like a bike again. The tank is test-fitted to help visualize -- it's just in primer still, and you can see the body filler I discovered after stripping the paint.


In this one, you can really see the mounts, already fitted with their rubber isolation grommets, I made for my oil tank.

New tapered steering stem bearings will make it handle better. These were a piece of cake, using all the information I’d gathered from the forum!

More updates to come. I’m a little past this point, right now, but I don’t have my photos edited and posted, yet. So, I hate to say it, but stay tuned. I’ve been working on this since April, and I’m hoping to be closing in on the finale, soon!