Author Topic: 1971 CB500: Project "Yokai" - Lots of Pics  (Read 36087 times)

0 Members and 2 Guests are viewing this topic.

Offline Syscrush

  • Expert
  • ****
  • Posts: 1,419
  • Sold. :(
Re: 1971 CB500: Project "Yokai" - Lots of Pics
« Reply #25 on: November 26, 2010, 05:39:41 am »
Exciting project - nice work so far.

Especially on those carbs!  :o
Life is precious: wear your f'n helmet!
There's nothing more expensive than a free bike...
FWIW, I'm not a shill for Race Tech - I've just got a thing for good suspension and the RTCE's are the most cost-effective mod for these old damping rod front ends.

Offline joshuanagao

  • Enthusiast
  • **
  • Posts: 104
Re: 1971 CB500: Project "Yokai" - Lots of Pics
« Reply #26 on: November 26, 2010, 08:45:44 am »
A lot of members have had very good sucess with either the Duplicolour, or VHT engine paints.  The key, as with any paint job is in the prep.

I'll go pickup some Duplicolour today!  Besides cleaning really well and a good coat of primer what do I need to do to prep.

Offline joshuanagao

  • Enthusiast
  • **
  • Posts: 104
Re: 1971 CB500: Project "Yokai" - Lots of Pics
« Reply #27 on: November 26, 2010, 08:17:08 pm »
Got home from work to see an early Christmas present.  I had ordered an exhaust from Benjie at BCR a few months ago and they came today!  I can't wait to get these on!  They are gonna sound SWEET!


« Last Edit: November 26, 2010, 08:33:27 pm by joshuanagao »

Offline Zaipai

  • I am getting closer to being an
  • Old Timer
  • ******
  • Posts: 3,400
    • My Home page
Re: 1971 CB500: Project "Yokai" - Lots of Pics
« Reply #28 on: November 26, 2010, 09:20:29 pm »
Man those are going to be sweet!! Wish I had good advice about the painting. What I did and seems to be holding very well after a summer of riding is I took some 600 grit sandpaper, went over every thing, then hit the entire thing with acetone and let it dry over night and then started with primer and paint the next day. I have to say so far its holding up very well. However I am sure some one could give you better advice.

TTYS,
.: Scott :.
Its my Avatar..

75 CB550F  | 


Offline Godffery

  • Godffery's Garage
  • Expert
  • ****
  • Posts: 1,165
  • Wisdom brings a realization of how little we know.
    • Godffery's Garage hosted by VinMoto.org
Re: 1971 CB500: Project "Yokai" - Lots of Pics
« Reply #29 on: November 27, 2010, 09:05:30 am »
As for the  Duplicolour, or VHT; keep in mind, regardless how well you prep, nothing that comes out of a rattle can will hold up to gas.  First time the carbs spill gas, may be the last time you have a nicely painted engine.

Offline Zaipai

  • I am getting closer to being an
  • Old Timer
  • ******
  • Posts: 3,400
    • My Home page
Re: 1971 CB500: Project "Yokai" - Lots of Pics
« Reply #30 on: November 27, 2010, 04:19:45 pm »
As for the  Duplicolour, or VHT; keep in mind, regardless how well you prep, nothing that comes out of a rattle can will hold up to gas.  First time the carbs spill gas, may be the last time you have a nicely painted engine.
I agree, when I spilled some gas on mine, it did not cause the paint to bubble or come off however it did lighten up enough that I had to touch it up as it was very noticeable. Tho I don't know what the solution is.. Can you powder coat a motor? Ceramic paint? Not sure. Perhaps Godffery has some ideas there.

.: Scott :.
Its my Avatar..

75 CB550F  | 


Offline unitedguitar

  • Enthusiast
  • **
  • Posts: 127
Re: 1971 CB500: Project "Yokai" - Lots of Pics
« Reply #31 on: November 27, 2010, 05:26:40 pm »
I also had some issues with my engine paint coming off after some carb overflow and had to do some touch up. The best advice I can give is be really careful until you've had it running a lot and allow the paint to burn in. It won't be 100% gas resistant but it will hold up better than spilling gas on fresh paint. Also, I would definitely recommend using fuel line to route the gas coming out of the overflow tubes away from the engine. Just a little insurance in case you forget to shut the fuel off. Don't ask me how I know.
Ben Whitener

Offline Godffery

  • Godffery's Garage
  • Expert
  • ****
  • Posts: 1,165
  • Wisdom brings a realization of how little we know.
    • Godffery's Garage hosted by VinMoto.org
Re: 1971 CB500: Project "Yokai" - Lots of Pics
« Reply #32 on: November 27, 2010, 09:38:54 pm »
[quote
Whet ever you decide, I suggest using this stuff:
http://www.por15.com/ENGINE-PAINTING-KIT/productinfo/EPKA/

[/quote]

This WILL hold up to gas, even if you soaked it in a 55 gallon drum of race fuel!
Just brush it on, flows out nicely.
http://www.vinmoto.org/gallery/v/VinMoto-Garage/album03/Godfferys-Garage-123/Cafe+Overkill/DSC+349.JPG.html?g2_imageViewsIndex=1

Offline joshuanagao

  • Enthusiast
  • **
  • Posts: 104
Re: 1971 CB500: Project "Yokai" - Lots of Pics
« Reply #33 on: November 28, 2010, 09:23:04 pm »
Anyone know a resource to buy progressive front shocks for a 500?

Offline Syscrush

  • Expert
  • ****
  • Posts: 1,419
  • Sold. :(
Re: 1971 CB500: Project "Yokai" - Lots of Pics
« Reply #34 on: November 29, 2010, 05:18:40 am »
Anyone know a resource to buy progressive front shocks for a 500?
Do you mean progressive springs?

FWIW, straight-rate springs with the correct rate, and matched to a good damper will work better and ride smoother than progressives.  Race Tech makes springs and cartridge emulators for your bike that will transform the front end and make it feel much better.
Life is precious: wear your f'n helmet!
There's nothing more expensive than a free bike...
FWIW, I'm not a shill for Race Tech - I've just got a thing for good suspension and the RTCE's are the most cost-effective mod for these old damping rod front ends.

Offline Tintop

  • Old Timer
  • ******
  • Posts: 3,964
Re: 1971 CB500: Project "Yokai" - Lots of Pics
« Reply #35 on: November 29, 2010, 05:33:41 am »
I had the Race Tech emulators installed in mine.  The springs are still stock, but have been tested and then shimmed to match.  You can get emulator copies from other sources for less than Race Tech's.  That said I decided to go with the originals, and had them installed, and the forks rebuilt by a Race Tech certified shop / technician (Todd @ Mission Cycle in Angus).
« Last Edit: November 29, 2010, 10:45:11 am by Tintop »
1977 CB550/4 Cafe - Speed Warrior / BOTM 03/11
1980 CB750F (project)
Whittaker GBF Vintage Racing Sidecar (XS750 power) - ITG / 151's / CMR Racing Products (SOLD)
1976 CB400 SS - stock / BOTM 04/11 (SOLD)
1973 CB750 K - basket case (SOLD)
77 CB550 Cafe build
550/750 Filter Thread
Sidecar Rebuild Thread

Offline Godffery

  • Godffery's Garage
  • Expert
  • ****
  • Posts: 1,165
  • Wisdom brings a realization of how little we know.
    • Godffery's Garage hosted by VinMoto.org
Re: 1971 CB500: Project "Yokai" - Lots of Pics
« Reply #36 on: November 29, 2010, 06:05:16 am »

Offline joshuanagao

  • Enthusiast
  • **
  • Posts: 104
Re: 1971 CB500: Project "Yokai" - Lots of Pics
« Reply #37 on: November 30, 2010, 10:10:34 am »
Oh I'm SCREWED.  I started on the engine and was removing the tech cable and the tach cap snapped.  I checked at a local Honda dealership and they said the part is discontinued.  All the places online say it is out of stock too, and none on eBay.  Anyone know where I can find one?  Part number is 12451323000.  If I cant find one what should I do?  Can it be fixed?

Offline Tintop

  • Old Timer
  • ******
  • Posts: 3,964
Re: 1971 CB500: Project "Yokai" - Lots of Pics
« Reply #38 on: November 30, 2010, 12:25:33 pm »
Post something in the 'Wanted' thread with a picture.  Someone in SOHC land will have a spare.  Unfortunately not me.
1977 CB550/4 Cafe - Speed Warrior / BOTM 03/11
1980 CB750F (project)
Whittaker GBF Vintage Racing Sidecar (XS750 power) - ITG / 151's / CMR Racing Products (SOLD)
1976 CB400 SS - stock / BOTM 04/11 (SOLD)
1973 CB750 K - basket case (SOLD)
77 CB550 Cafe build
550/750 Filter Thread
Sidecar Rebuild Thread

Offline Syscrush

  • Expert
  • ****
  • Posts: 1,419
  • Sold. :(
Re: 1971 CB500: Project "Yokai" - Lots of Pics
« Reply #39 on: November 30, 2010, 01:05:13 pm »
Post something in the 'Wanted' thread with a picture.  Someone in SOHC land will have a spare.  Unfortunately not me.
I won't be wanting mine, but I don't see myself getting out to the bike to pull it this year.  :(
Life is precious: wear your f'n helmet!
There's nothing more expensive than a free bike...
FWIW, I'm not a shill for Race Tech - I've just got a thing for good suspension and the RTCE's are the most cost-effective mod for these old damping rod front ends.

Offline Godffery

  • Godffery's Garage
  • Expert
  • ****
  • Posts: 1,165
  • Wisdom brings a realization of how little we know.
    • Godffery's Garage hosted by VinMoto.org
Re: 1971 CB500: Project "Yokai" - Lots of Pics
« Reply #40 on: November 30, 2010, 02:55:01 pm »
Send me a few pix of yours and I may have one to match.

jstephens7@wi.rr.com

Offline joshuanagao

  • Enthusiast
  • **
  • Posts: 104
Re: 1971 CB500: Project "Yokai" - Lots of Pics
« Reply #41 on: December 02, 2010, 01:25:03 pm »
So here are some pictures of the broken tach cap.  If anyone has one lying around please let me know.


On a more positive note my new spokes finally arrived so I took a shot at lacing the wheels.  The first time turned out to be a disaster and I ended up with one scratch on my newly powdercoated rim.  I gave up and took all the spokes out to start over.  The second time I paid really good attention to the spacing and the hole pattern in the rims and they turned out great.  Let me know what you guys thing about my new rear set up!


On a side note I put a charge to the engine to see if it would turn over and to check the electricals.  The starter fired right up and got things moving a little.  I didn't want to go to far since there was no oil in the engine but it seems like everything is in working order for a good clean, paint and reinstall in the frame! 

I also got my new fork tubes from Frank's.  Pics coming soon.

Offline Godffery

  • Godffery's Garage
  • Expert
  • ****
  • Posts: 1,165
  • Wisdom brings a realization of how little we know.
    • Godffery's Garage hosted by VinMoto.org
Re: 1971 CB500: Project "Yokai" - Lots of Pics
« Reply #42 on: December 02, 2010, 01:44:37 pm »
Oh... not too worry buddy, your golden; THAT part is widely used on the Honda CB's. you can get one from the 400F, 500Four, 550 and I think even the 750!

Offline Zaipai

  • I am getting closer to being an
  • Old Timer
  • ******
  • Posts: 3,400
    • My Home page
Re: 1971 CB500: Project "Yokai" - Lots of Pics
« Reply #43 on: December 02, 2010, 06:33:52 pm »
Godffery is correct. Also the rear rim looks great! Glad the motor turned over for you. Has to be a load off..

.: Scott :.
Its my Avatar..

75 CB550F  | 


Offline joshuanagao

  • Enthusiast
  • **
  • Posts: 104
Re: 1971 CB500: Project "Yokai" - Lots of Pics
« Reply #44 on: December 02, 2010, 09:30:43 pm »
What is the best way to get the rear wheel bearings out?  I know there is a tool with 4 "pegs" but are there other ways?  Will I need to heat the housing?
« Last Edit: December 02, 2010, 09:38:59 pm by joshuanagao »

Offline Godffery

  • Godffery's Garage
  • Expert
  • ****
  • Posts: 1,165
  • Wisdom brings a realization of how little we know.
    • Godffery's Garage hosted by VinMoto.org
Re: 1971 CB500: Project "Yokai" - Lots of Pics
« Reply #45 on: December 03, 2010, 04:28:25 am »
You will need a tool like this :
http://www.vinmoto.org/gallery/v/VinMoto-Garage/album03/Godfferys-Garage-123/Cafe+Overkill/DSC+083.JPG.html
and an impact gun. You shouldn't need heat but it wouldn't hurt to squirt it with some penetrating fluid.

Offline joshuanagao

  • Enthusiast
  • **
  • Posts: 104
Re: 1971 CB500: Project "Yokai" - Lots of Pics
« Reply #46 on: December 05, 2010, 09:00:44 pm »
Got a few new parts in the mail so I thought I would take some more pictures.

First is of the polished brake junction. 


Next, I got a new head nut and nuts for the handle bar/indicator light array.  They look so nice and polished!


I also got the front wheel laced up and mocked up the brake rotor.  I still need to find a drill pattern and a few hours on a drill press, but it is looking good so far. 


Rear wheel with drum brake array.


You can't see it very well but if you look at the outer edge of the brake rotor you will see that it is black.  The powdercoater thought it would be cool to paint the outside edge flat black.  I think that it looks great, hopefully it won't burn off when the brake rotor heats up. 


Last and probably least, I got a new ignition assembly, I'm thinking I'll put one of the keys on my keychain now.


Offline Tintop

  • Old Timer
  • ******
  • Posts: 3,964
Re: 1971 CB500: Project "Yokai" - Lots of Pics
« Reply #47 on: December 06, 2010, 08:07:29 am »
Looking good joshuanagao, lots of progress.

Before mine were drilled, I did a Google search for drill patterns, and found some.  However, they were for rotors with a larger dia. than my 550's.  Couldn't get them to resize right with my computer, so I had a member here drill them.  He also resurfaces them, so they are like new when you get them back.
1977 CB550/4 Cafe - Speed Warrior / BOTM 03/11
1980 CB750F (project)
Whittaker GBF Vintage Racing Sidecar (XS750 power) - ITG / 151's / CMR Racing Products (SOLD)
1976 CB400 SS - stock / BOTM 04/11 (SOLD)
1973 CB750 K - basket case (SOLD)
77 CB550 Cafe build
550/750 Filter Thread
Sidecar Rebuild Thread

Offline Zaipai

  • I am getting closer to being an
  • Old Timer
  • ******
  • Posts: 3,400
    • My Home page
Re: 1971 CB500: Project "Yokai" - Lots of Pics
« Reply #48 on: December 06, 2010, 06:43:27 pm »
I believe there are patterns here on the forums some place, just can't remember. If I remember correctly they are in PDF format tho. So resizing can be a challenge. So I just bought one already drilled from Spikeybike!!! ;) Plus I don't have a drill press or access to one and its a nightmare if you try and do it by hand with out a drill press.

Those parts look fantastic man!!

.: Scott :.
Its my Avatar..

75 CB550F  | 


Offline joshuanagao

  • Enthusiast
  • **
  • Posts: 104
Re: 1971 CB500: Project "Yokai" - Lots of Pics
« Reply #49 on: December 08, 2010, 09:24:58 pm »
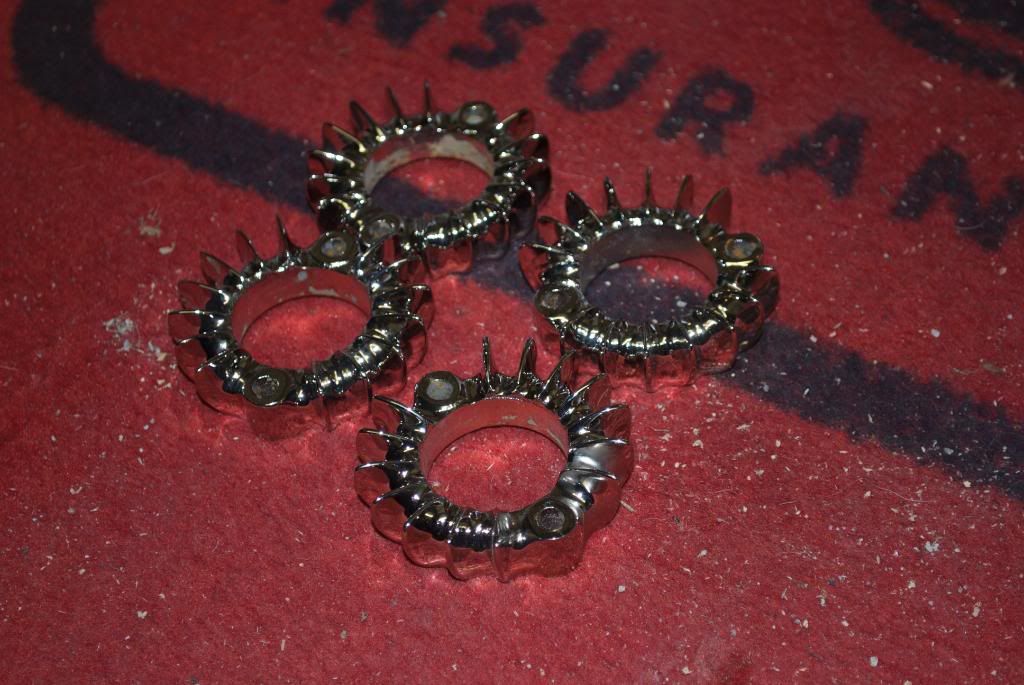
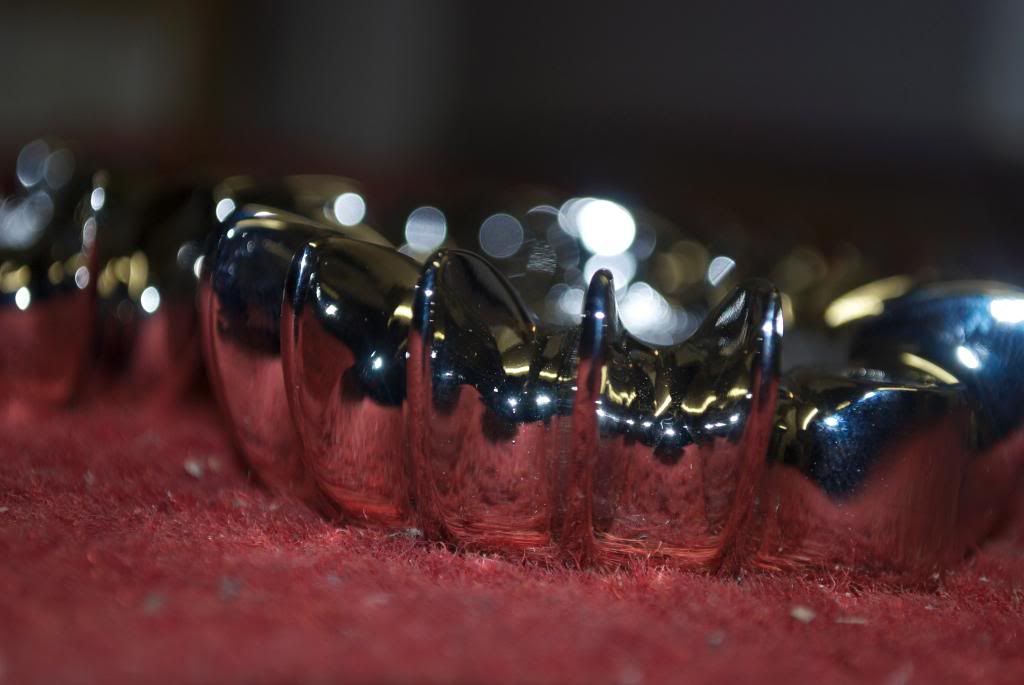
I took these to the chromers over a month ago and was getting super annoyed that they were taking so long to get them done.  They told me they would be done right after Thanksgiving, then they told me they would be done Dec 1, then they told me they would be done this week.  I finally got them and they look great!  Well worth the wait!

I didn't get them chromed, just copper plated and nickel on top.


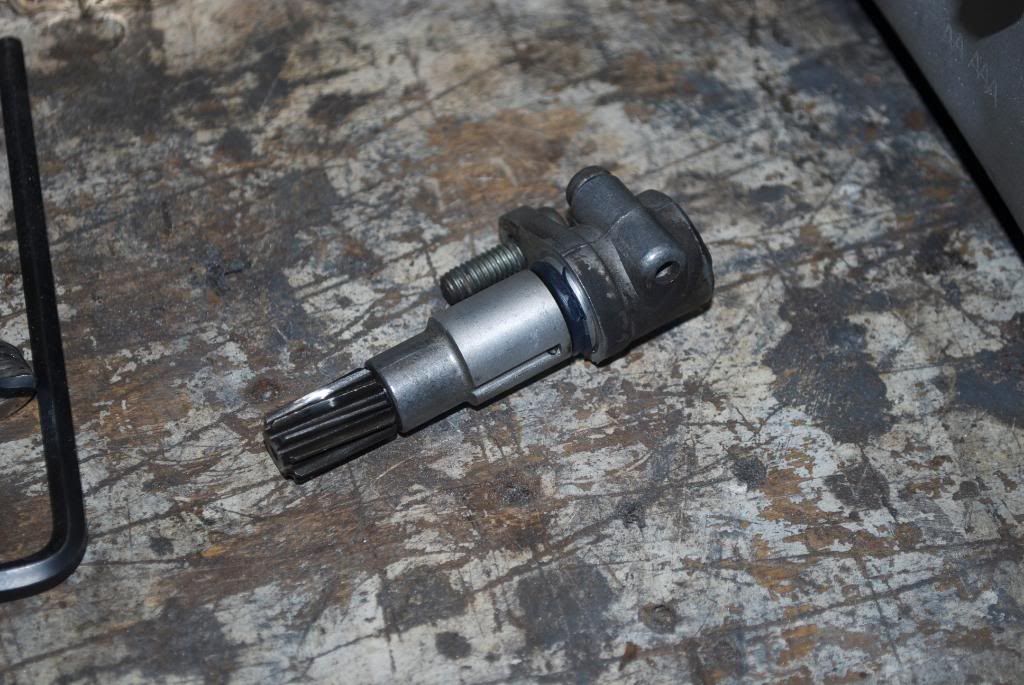
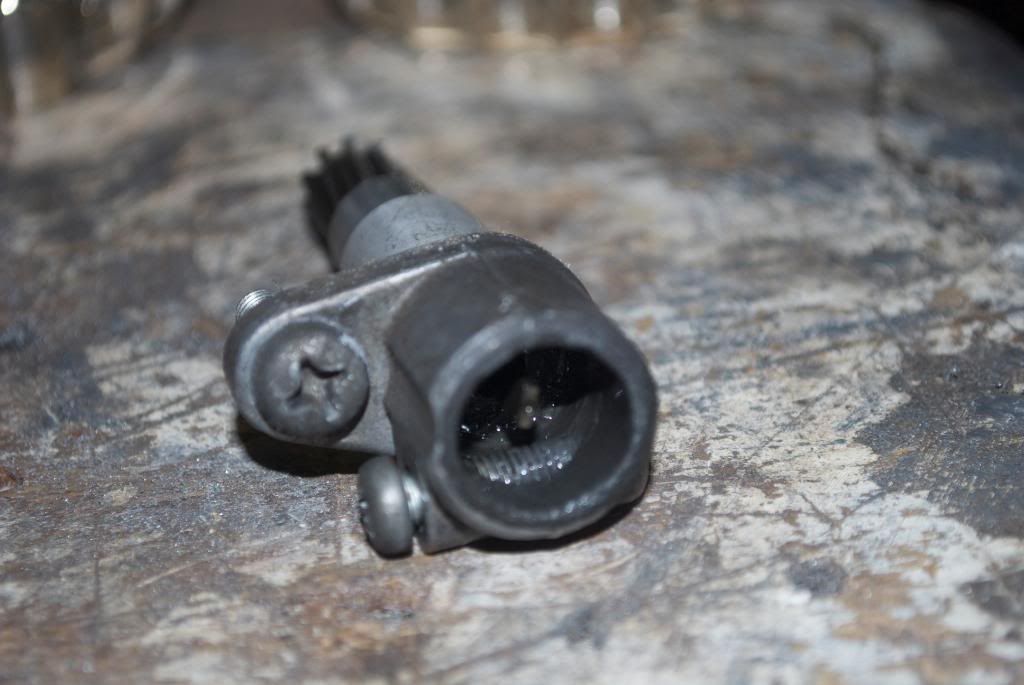
Also, I got a new tach cap thanks to r6100mph!  He had a couple extra laying around and was more than willing to ship me one!  Thanks again!


Lastly, I started the engine teardown/clean.  Honestly i'm pretty intimidated but its going pretty well so far.  I would like some suggestions on how to get the jugs off.  They are really on there.  I got all 12 nuts off but the top section of the jugs won't budge.  I don't want to bend or break the fins at all and I'm afraid that if I wedge something in there and start prying that something will break for sure.  Any suggestions?


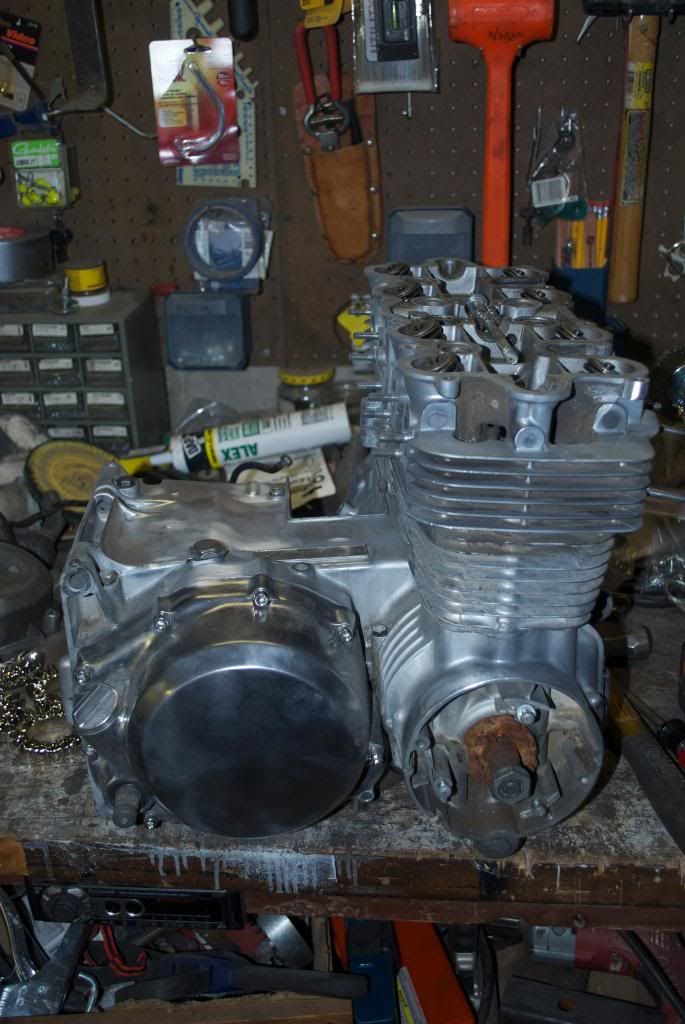
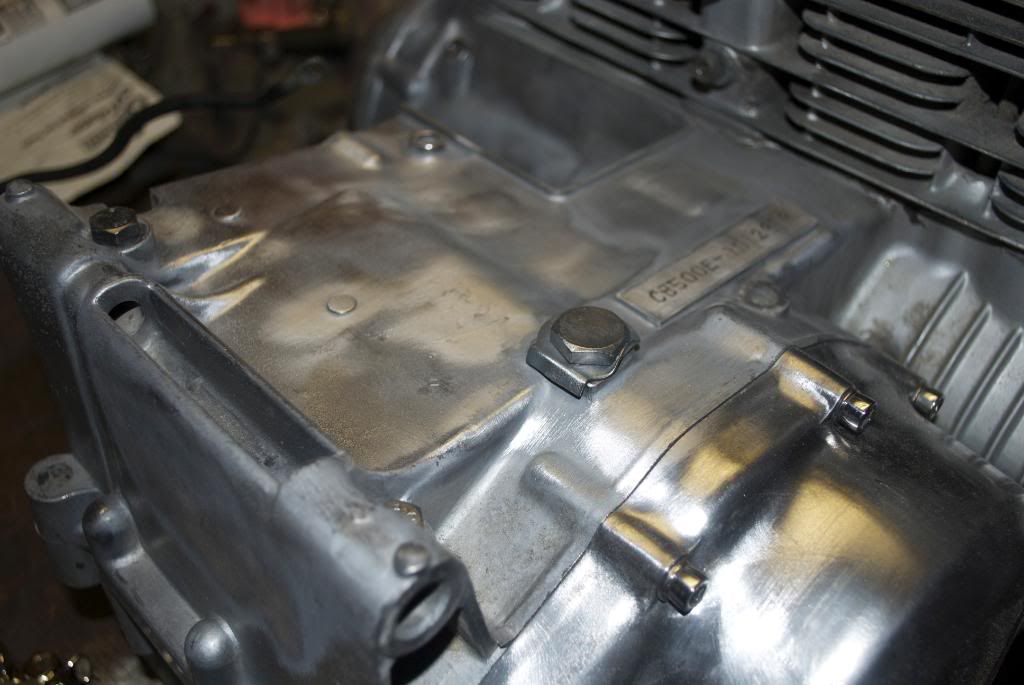
Starting with a wire brush.  It's looking great so far.  I ordered the engine paint kit that Godffery recommended so hopefully I'll have a engine ready to go into the frame pretty soon!  I also wend to the local nut and bolt supply and got new bolts for the entire engine.  Stainless bolts all around only cost about $30 bucks so I was pretty happy about that.


Quick question.  Does anyone know where I can get plugs to plug the intake holes and exhaust?  I am just using really tightly packed towels right now but think plugs would probably be easier.
« Last Edit: December 08, 2010, 10:45:32 pm by joshuanagao »