I've had this bike a 71 CB750 for well over a year now and I've been tinkering with it ( we'll I pulled it apart and that's about it so far). The idea is to build a cafe racer, and I wanted to base it of one of Carpy's bikes. The Tornado he did ages ago. Hopefully he will agree that Imitation is the sincerest of flattery. I just really thought it was a sweet looking bike. I have a feeling it will end up looking nothing like it but here goes.
Bought the bike off eBay $300 non running with a couple of seized pistons.
I've done a few bits and pieces to it and I'll add them as I go along, but I mainly wanted to start this because I know I'm going to have plenty of questions.
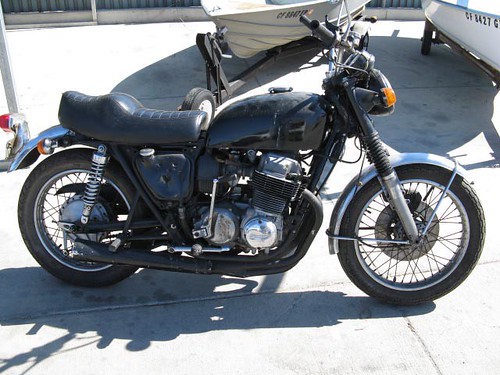
this is the way it was to start.
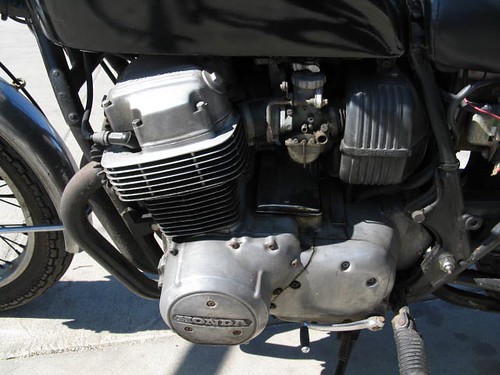
not to bad condition I thought for the price.
anyway since this is going to be an arse backwards build I'm going to start with the gauges. Only because I wanted to give Marcel a thank you for the great reproduction gauge faces he made. and since the topic of gauge faces and the jewels that go in them has surfaced recently. To start I popped the ring holding the halves together using one of those painting can openers you get at Lowes. Once I got it underneath the ring I was able to gently work around the rim and open it up with out cutting it. It came up nicely and I didn't crimp or deform the thin metal. It worked well but after all that effort I think the cutting it and adding a drop of JB weld might be the way to go. Only because after it was all painted it was hard to put it back together without scratching the new paint. Luckily I'm putting on gauge covers and the paint is only there to protest the metal.
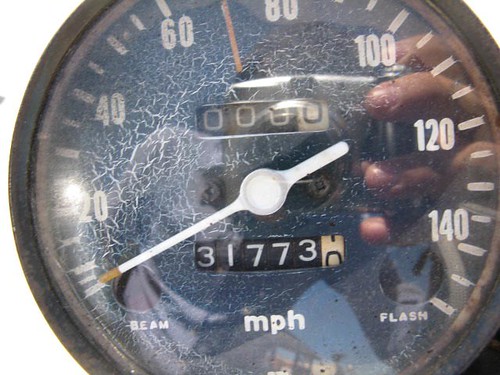
This is what they looked like to start.
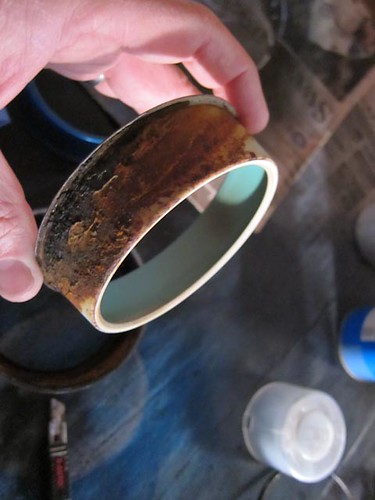
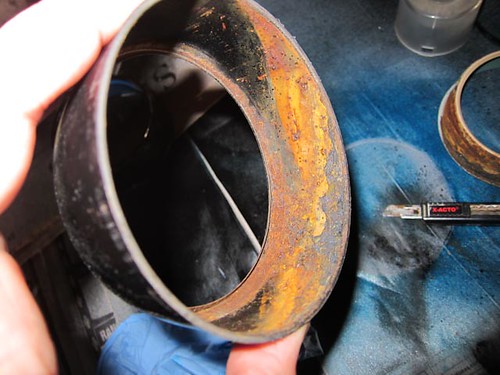
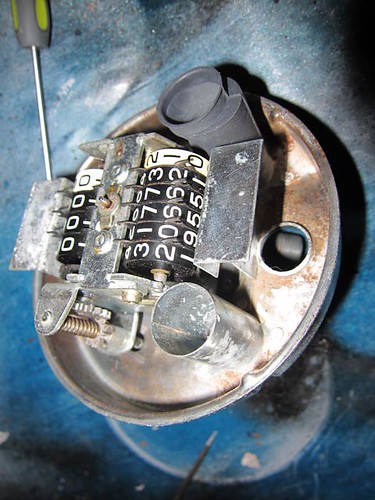
This is how the inside of the gauges looked after opening. The guy who bored out the cylinders for me was adamant the bike had been underwater at some stage and looking at this rust he may have a case.
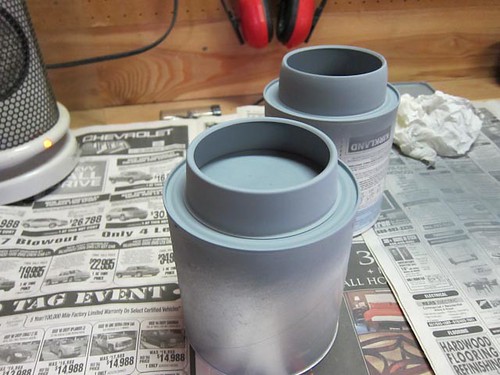
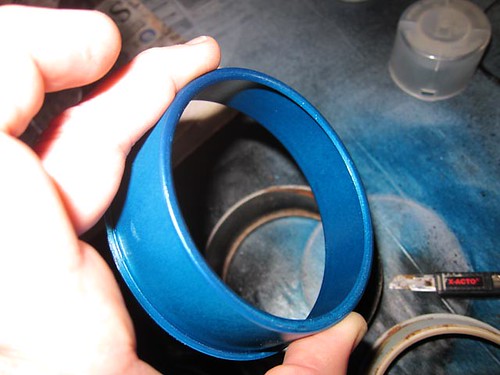
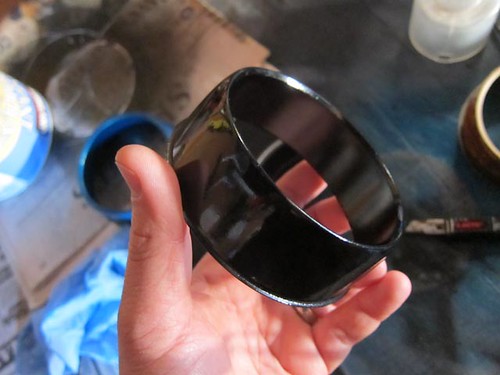
A couple of coats of primer and a new black pearl for the outer ring and a metallic blue for the inner.
I couldn't find a match for the turquoise green that is inside the ring from the factory and didn't think it was so important. I'm sure it was just a light colour to give a bit of a backlight to the gauges. The metallic blue should bounce a bit of light as well.
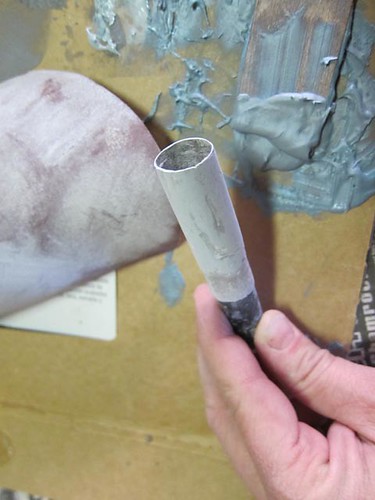
Once inside the jewel for the beam had melted. and the white tube that sort of directs the light to just the jewel had also disintergrated. First of all I made a new tube thingy by getting some bondo and smearing it on a piece of newspaper. Like paper mache. I rolled it and let it set then built up a few layers of bondo and sanded it down. There is a kink to the tube so I again went at it with the bondo and got this. I didnt go bananas with the finish as its hidden inside the gauge. It took about 45 mins to do.
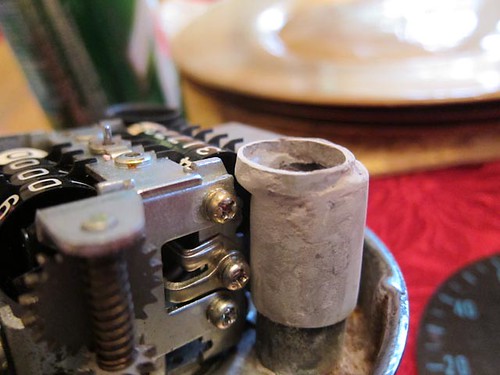
I found a coloured gem in my daughters arts and crafts drawer. It had a silver backing which I ground off and polished it up so it was clear. It fits great. The jewel on the right is the original which I put a bit of orange glass paint in ( again from my kids craft drawer) to get the colour back. The photo is pre glass paint.
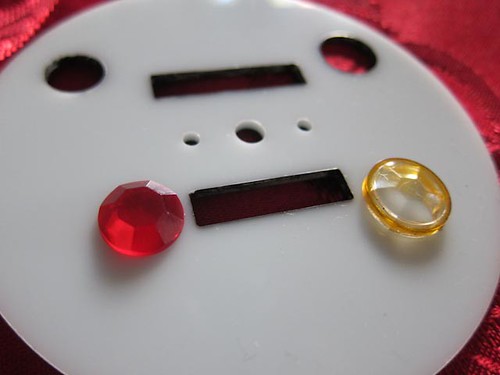
These are Marcel's gauge reproductions. They are first class. I got the KO ones even though mine is the K1 because I just liked the black instead of the dark green.
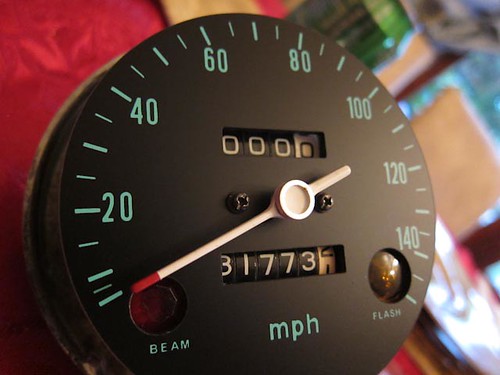
After a bit of swearing and yelling at the kids not to come near dad for a moment, I got the band that joins the two halves together using a clamp to hold them together and some pliers to crimp it closed. On with the Chrome gauge covers and this is one done.
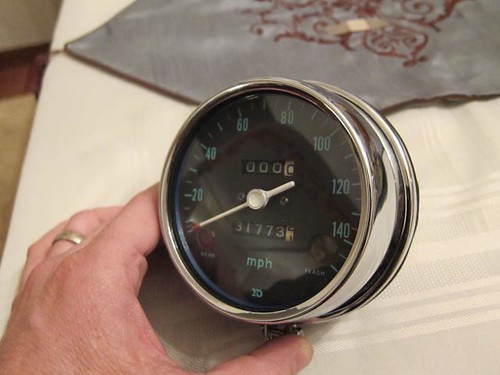
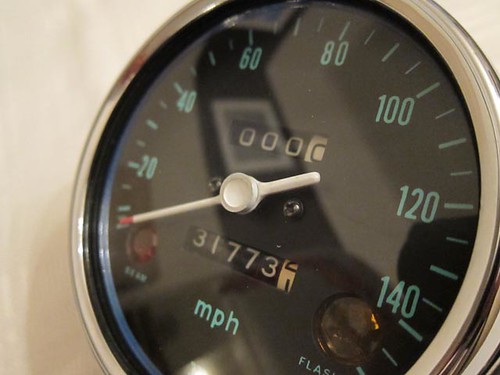
Again thanks to Marcel for the reproduction faces. He has a link to buy them on here somewhere for the life of me I cant find it now when I want to. I'll post it when I get it.
That's it for now. Hopefully I'll post some more soon.
Cheers
Marek
And yes that is the correct spelling of colour.
