Alright I know there have been many posts here about the subject but I think I can help clear up some issues that guys have had. I attempted to clean my advancer yesterday when all hell broke loose and nothing would work when put back together. I'm attempting to consolidate all of the tips/tricksissues /in to one source to save the headache it took me with endless searching and digging in the search bar.
Advancer cam issues, point plate issues and utilizing the daichi points. With the jap points I had no issues, no experience with the apparently troublesome chinese ones. This elementary and pointless for some but this thread isn't for you guys. If you have some ideas to make this a good source thread lets hear it, chime in
My setup is a late 72 cb750 engine with stock advancer,
japanese daichi points, not chinese along with a Hondaman ignition box setup
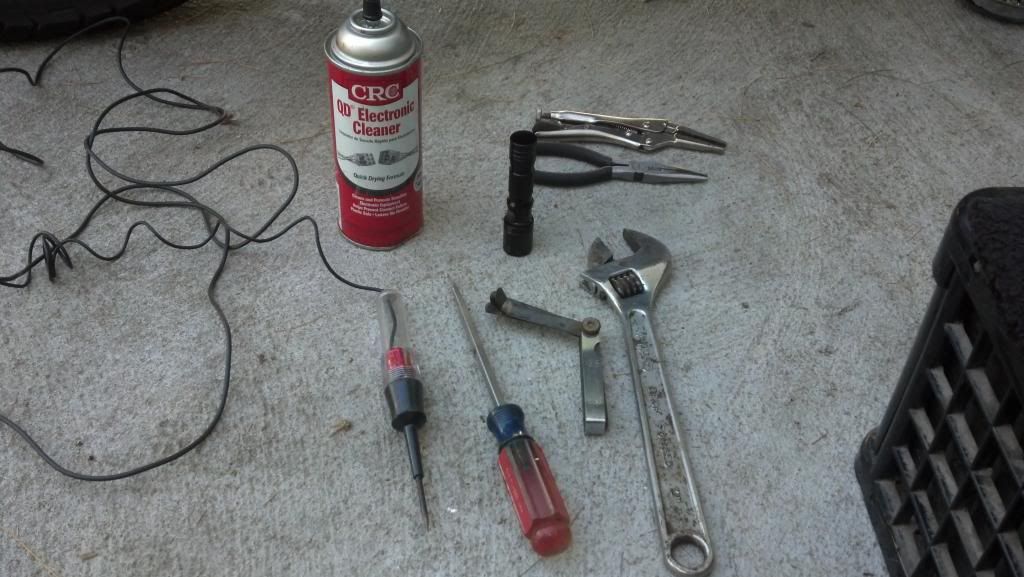
The tools I used, very low brow stuff. Use a cheap one LED test light, it lights up with very low current
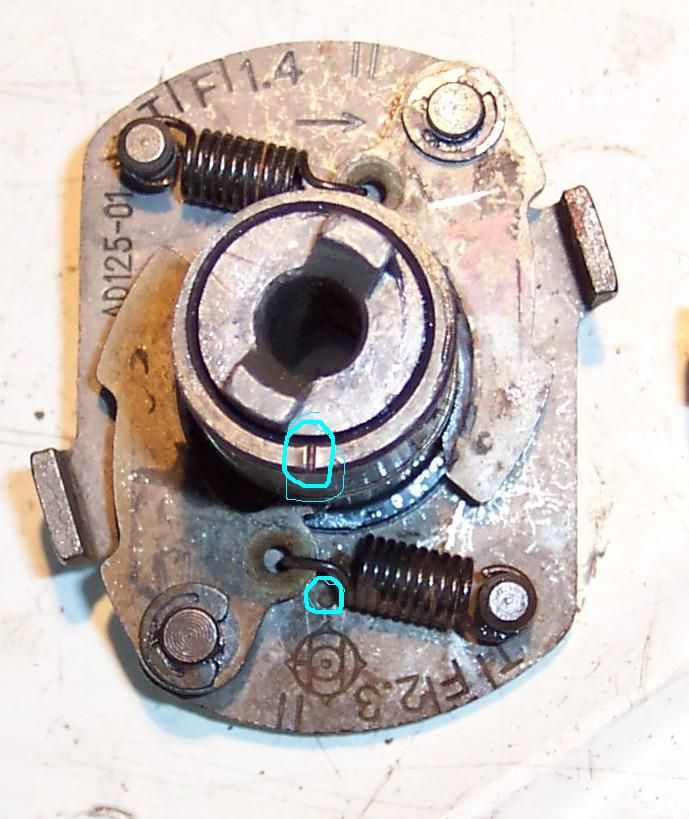
Lubing up the advancer make sure when reassembling that you orient the cam mark to the mark on the plate. If not your bike will fire ~180 off the mark so no bueno. When reassembling back in place put the advancer male peg in and turn CCW so it that little bit of wiggle/tolerance is eliminated in that direction. The pic below is a circle of the cam marks
When attempting to set the 1-4 gap you want the ear of the spark advancer showing in the window. The mark past t and f, that corner mark where you would leave it for a cam chain adjustment as well. This will be your high point on the advancer cam there. Now is the start of issues with some plates. TTired originally authored this but shim up your points plate. I needed a .05 on the bottom right and this fixed my inability to nail the timing. Before this shim even a .09 points gap couldn't get me on the money.
Loosen the plate, ram the shim home, tighten the adjustment screws back down. Now your plate discrepancy has been handled.
Now remember that after you set your points gaps for both 1-4 and 2-3 you gotta probably swivel the plate to bring in that dead on spot with the timing light. If you are gonna loosen the main plate, you
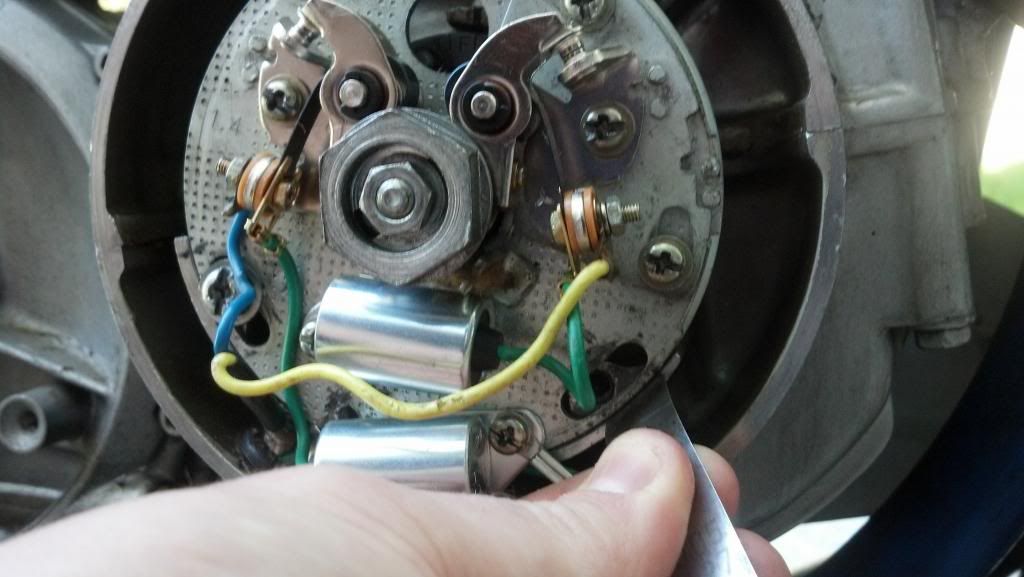
must remember to put your shim in there til it is cinched back down. If not you just reintro'd your discrepancy. Keep using the shim to eliminate it. For those not used to setting the points remember that the light will switch on when you open the points. That is when you stop turning the big nut and see how close you are. The main idea is to see that light switch when you hit that f hash mark if not keep fiddling. The place to place the test lead is on the yellow or blue wire where it attaches to the points it is plenty sufficient.
**You may need slightly different shims, or if you are one of those lucky guys maybe you don't need any of that deal. But insert the shim with the points detached to create slack or attempt to force that shim in there. Don't eyeball it, it isn't gonna work like that. Get the biggest shim in there that will go without ruining the feeler
Hope this helps somebody like me, I know I could have used it about noon yesterday
Brian


