Hi Guys,
So I am off on the next project, a ’77 550F. I have pretty much finished up the CB450, all that is left is some final tuning on the Mikuni VM’s and I have to shape the front fender and then send it and already chopped rear out for fresh chrome.
So, off to start the project.
About 6 years ago, I bought the bike locally somewhere near Hyde Park, NY. The bike was filthy and unused with a nice big split in the original seat cover. It has some Ape Hanger-esque bar on it which of course will go. As nasty as the bike was, the tank was clean, the Candy Sword Blue bodywork was straight and after cleaning it up, the paint and decals were in OK condition – actually pretty darn good. I am still deciding whether to leave the paint alone or not…
That said, the bike has not run since ’95, and the carbs are solid with fuel mud. My goal is to restore her back to showroom condition with some modern safety and operating upgrades.
For reference, here is what I want to end up with – if this is your bike, I apologize, I found it on the web:
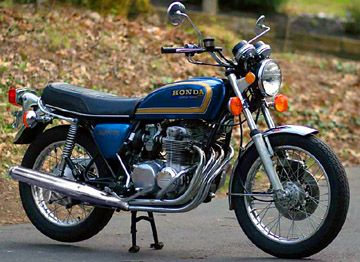
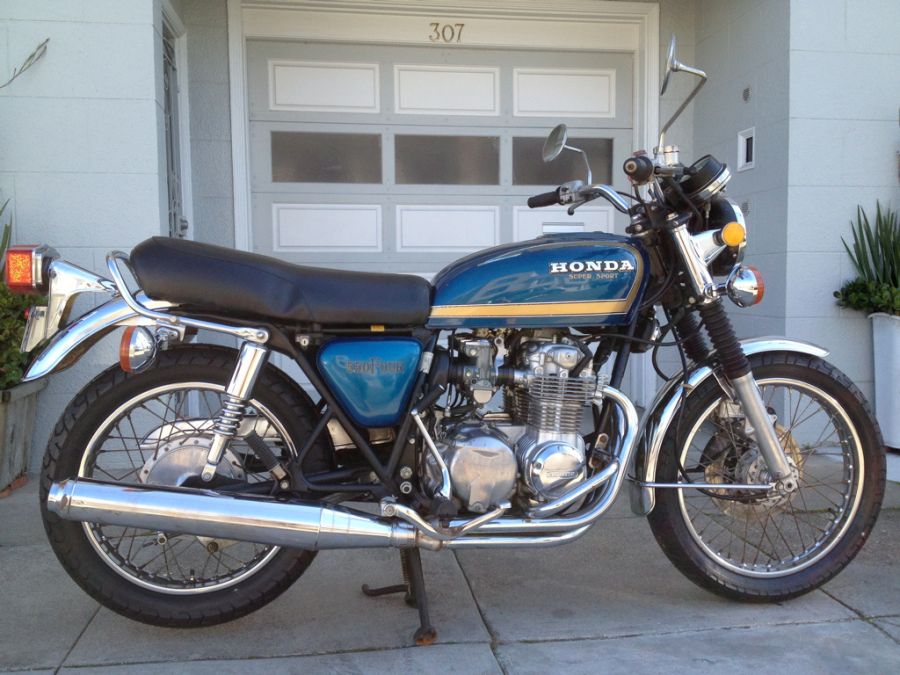
I was able to get her to kick over a bit and run with some throttle, but the carbs were puking fuel through the overflows. Of course, due to the mud in the carbs, the floats were frozen in the open position. So it was off with the bank of carburetors to see how bad they were. After wrestling them off, I could see that the carb boots front and back were rock hard and the #1 was split.
The carbs were ugly. I have seen some ugly carbs on here, and I can promise you these were every bit as ugly as anything seen on this site before. There was no way to even attempt to take anything apart, so, off to soak individually in some hot Simple Green and water. Not surprisingly, the heated solution did wonders to clean out the gunk of each carb.
After getting all four cleaned out, I proceeded to disassemble them. Everything came out great in the end, but the jet towers and float pin towers were showing corrosion. In fact, getting the float pins out was a nightmare. I had to carefully knock them out with a punch and hammer…. Being extremely careful not to deform or even worse break the towers. Fortunately, I was successful. Unfortunately, my #2 Carb body was fully corroded at the emulsion tower. So much so, that the o-ring on was fully exposed on the press in jet. This carb, if I used it would always run rich, and it would be impossible to properly tune it. The body would either need to be repaired – I don’t know if this is even possible – or replaced. I looked around the usual sources for a replacement 069A #2 body, but came up with nothing. Fortunately, after some looking through this incredible site, I came across info from incomparable Two Tired and the excellent service of Harrisuluv. James is sending me a nice 627B body, which is identical to the 069A. Because I am going to switch out all the internals, it will work.
Let’s go back to the disassembly of the Carb rack. I want these carbs to look even better than factory fresh, so, I am going to polish everything I can.
There is a lot of oxidation on the pieces and it is really stubborn. In my cleaning process, I will be using a mixture of Ultrasonic, Soda Blasting and Vibratory tumbling.
As I know everyone likes pictures, here you go. I meant to take better pics of everything I mentioned above, and thought I did, but I cannot find the before pics of the carbs before I took them off the bike, and even the pics of the bike while it was still together.
Anyway… here we go. The pics are really a guide for me to reassemble the carburetor linkages after cleaning the individual components. I built the CB450 before this bike, as the 4 Cylinder intimidated me – especially the carburetor system…
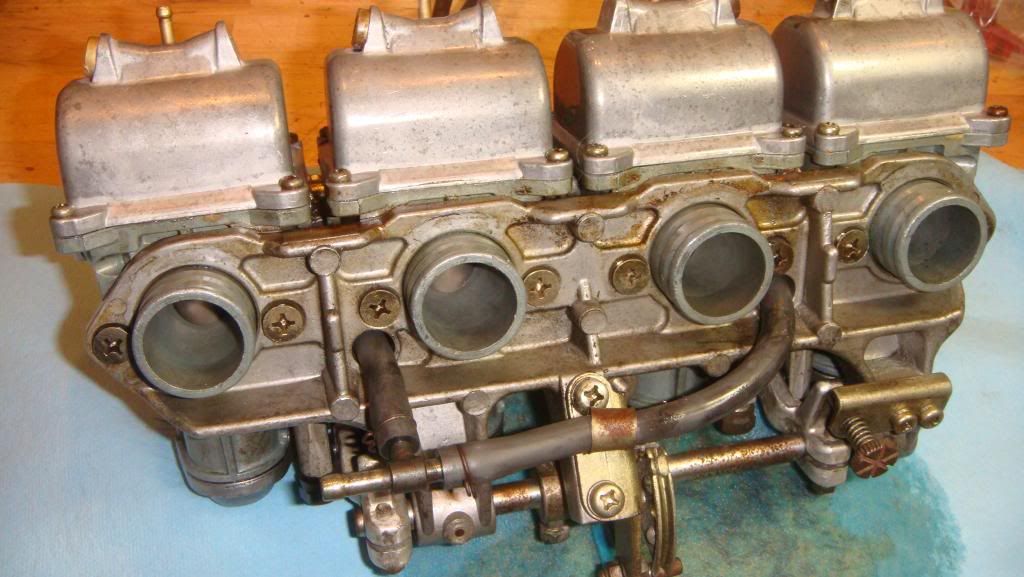
The Manifold Side of the bank, showing the fuel inlet tube.
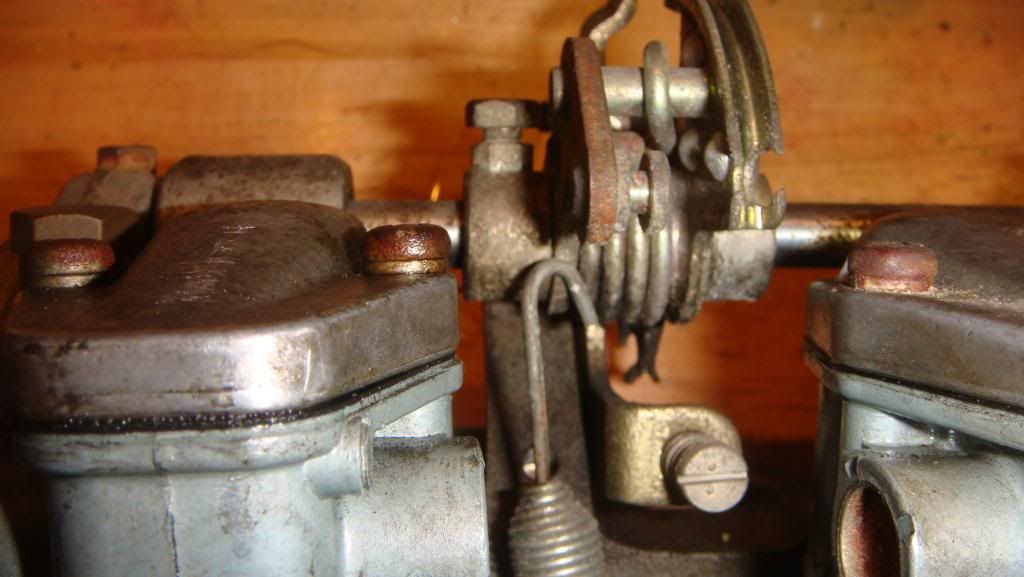
Main Spring attachment point
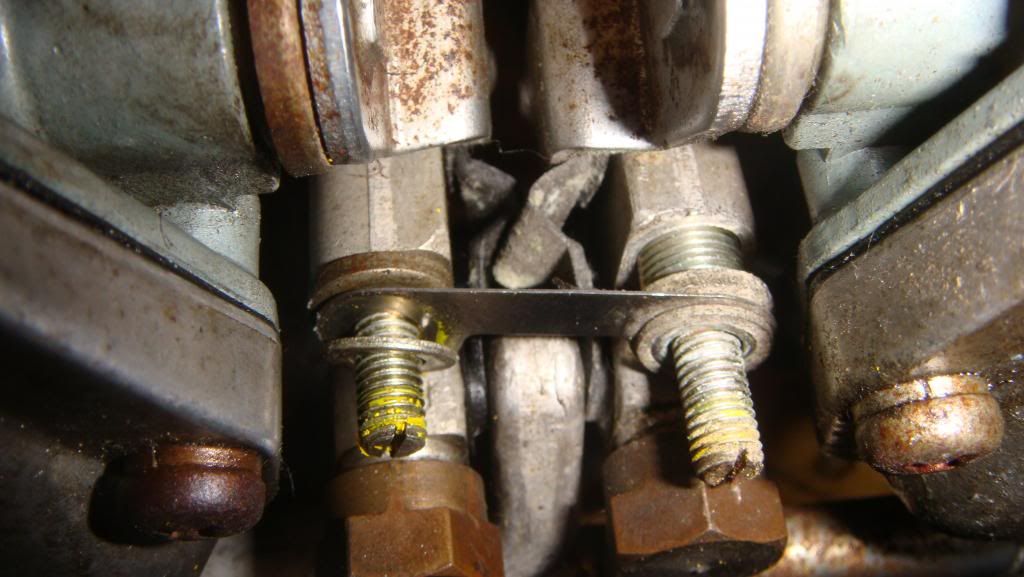
Synchronization Linkage
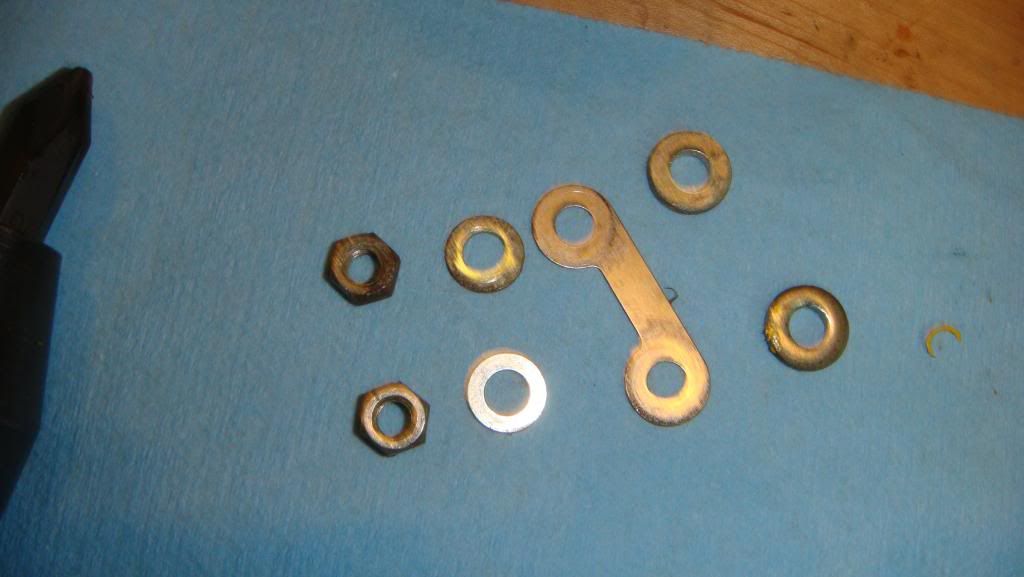
Synch Linkage Assembly, the right side washers are down towards the Carb Bodies, working to the left
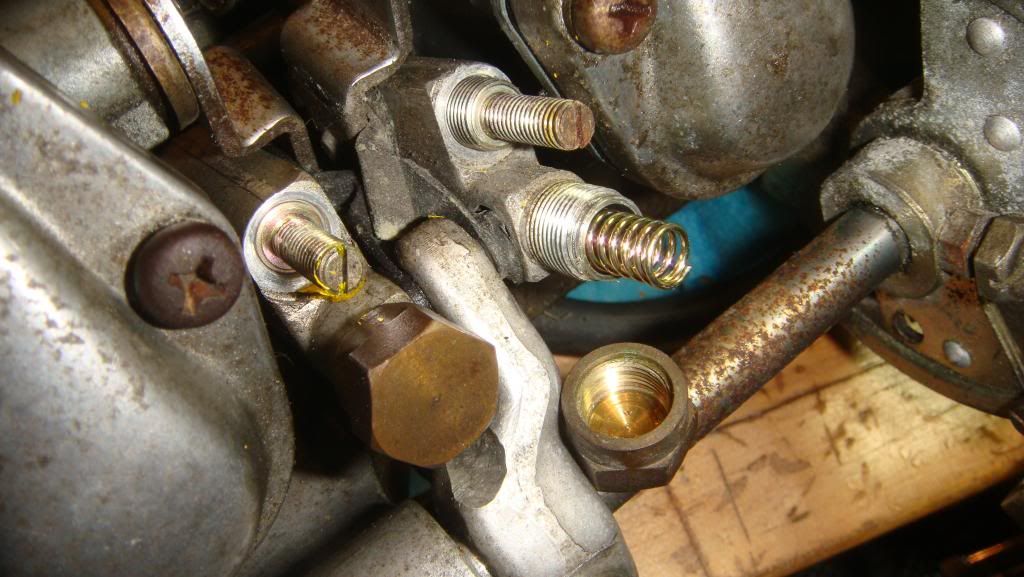
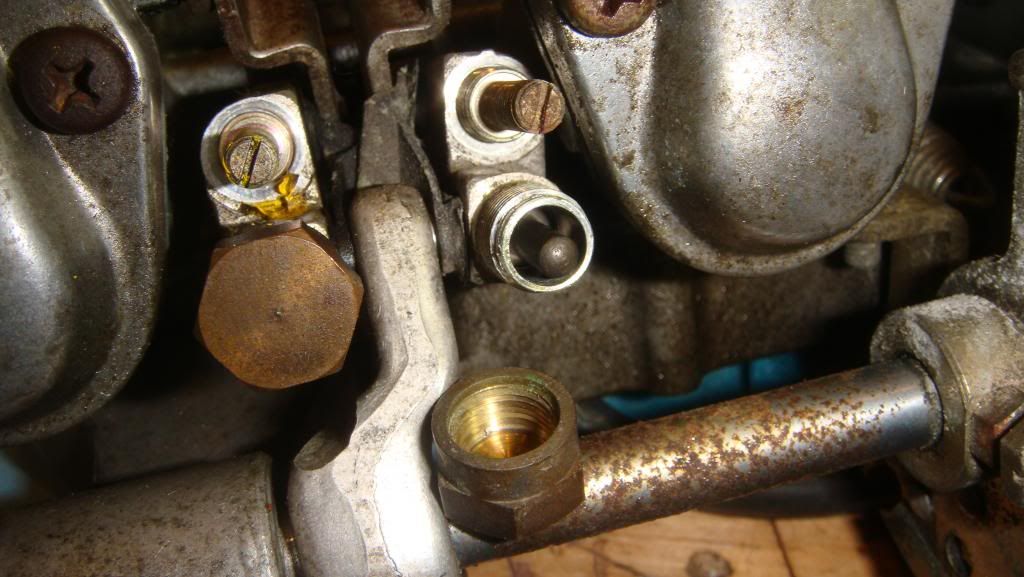
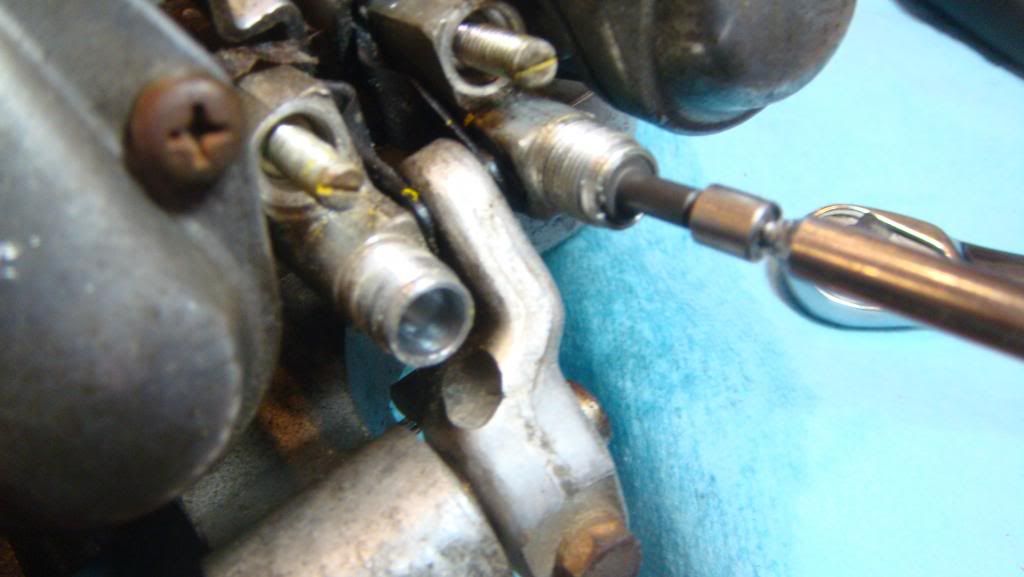
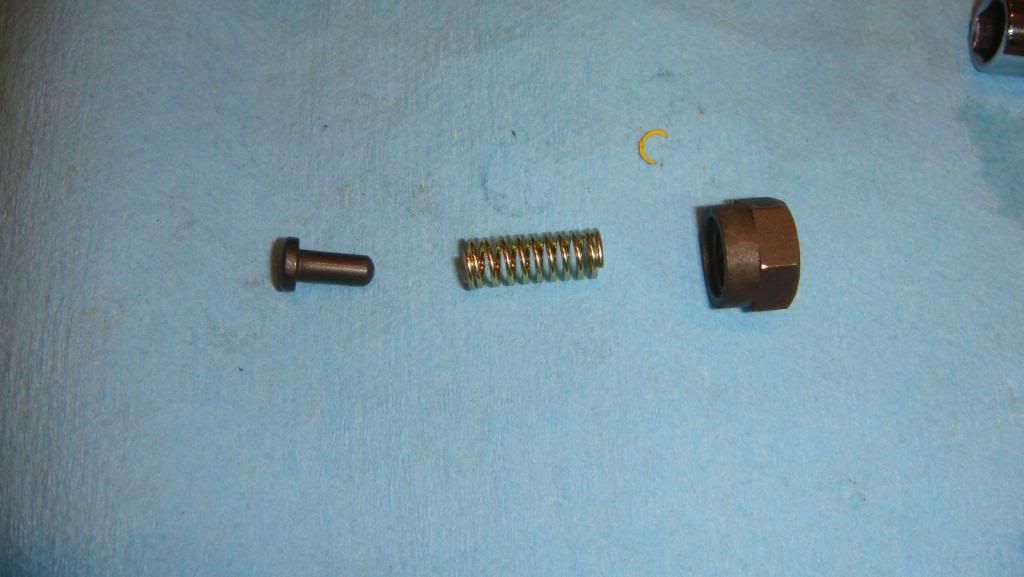
The Spring and Plunger Assembly that attached to the linkage arms
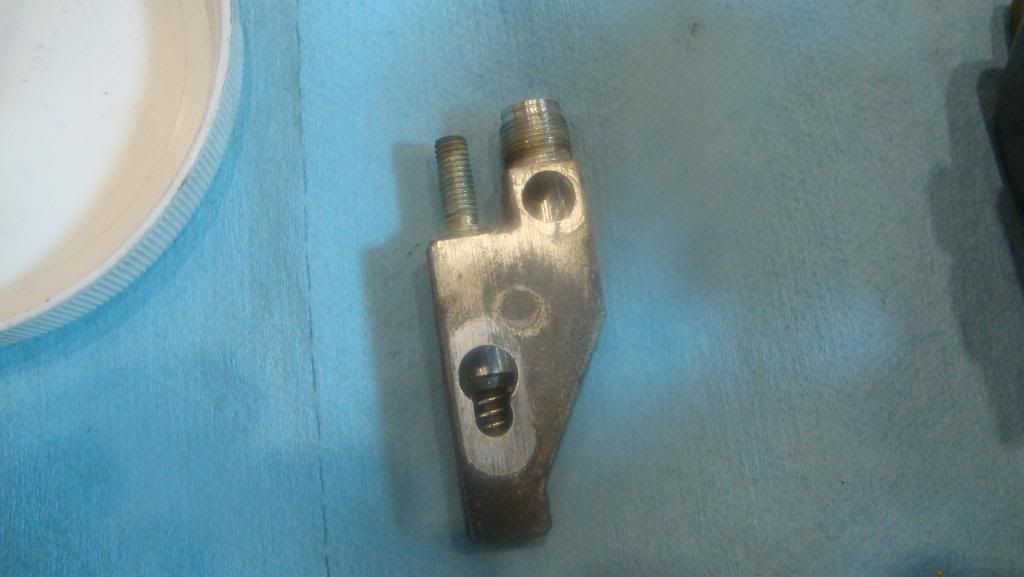
Here is the Connector that attaches the main linkage to the individual Slide Arm on the each Carburetor
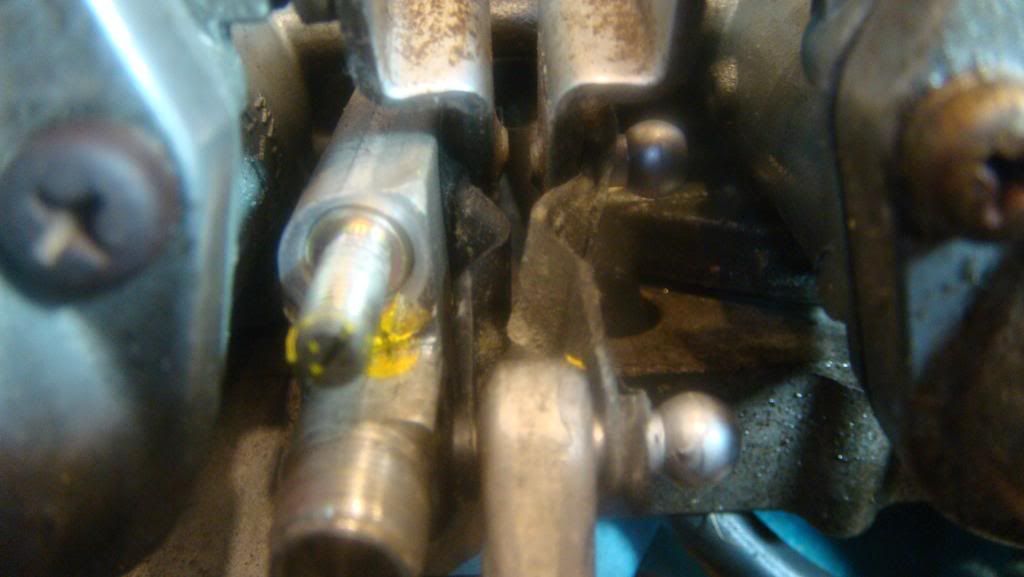
Hopefully a better picture of how the above piece attaches. Note the Rubber attachment that fits between the Connector and linkage arm and Slide Arm.
Here you can see the spring and plunger assembly that attaches to the Slide arm on the individual carburetors
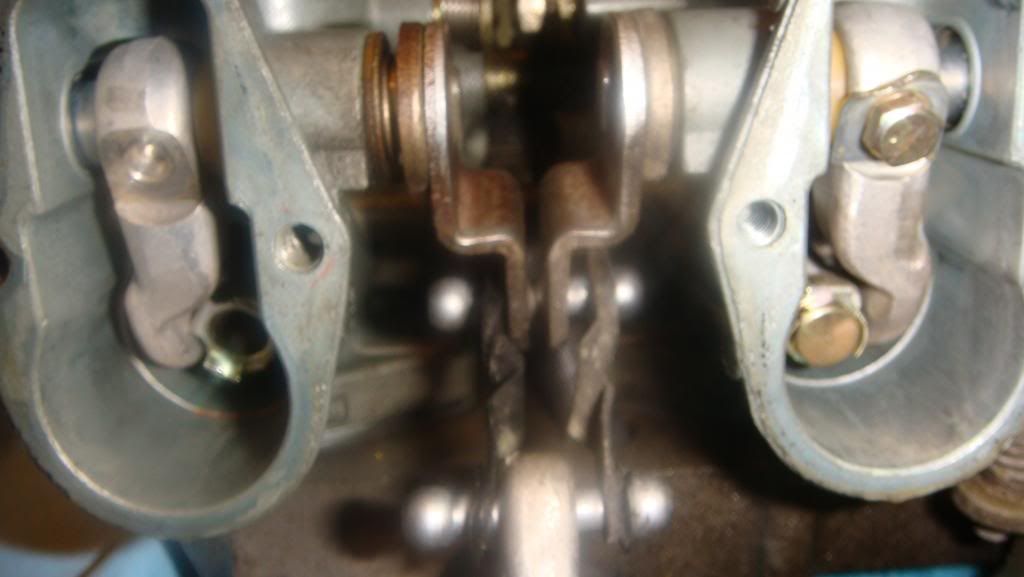
Note the alignment of the rubber attachment pieces between the linkage arm and carburetor slide arm
Also, note the bolts with the lockwashers on top of the carburetor slide arms. The next two pics will be close-ups of their assemblies:
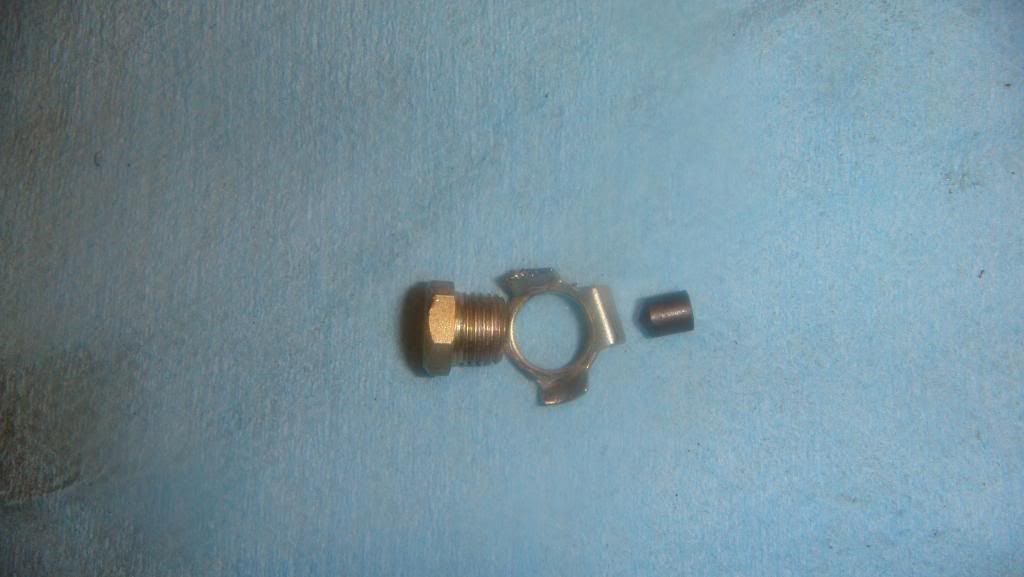
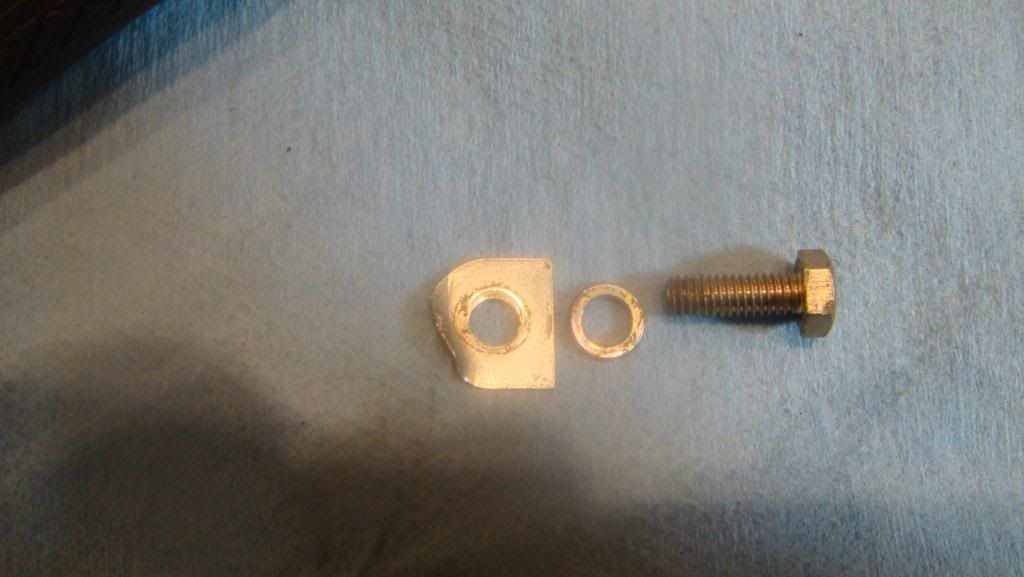
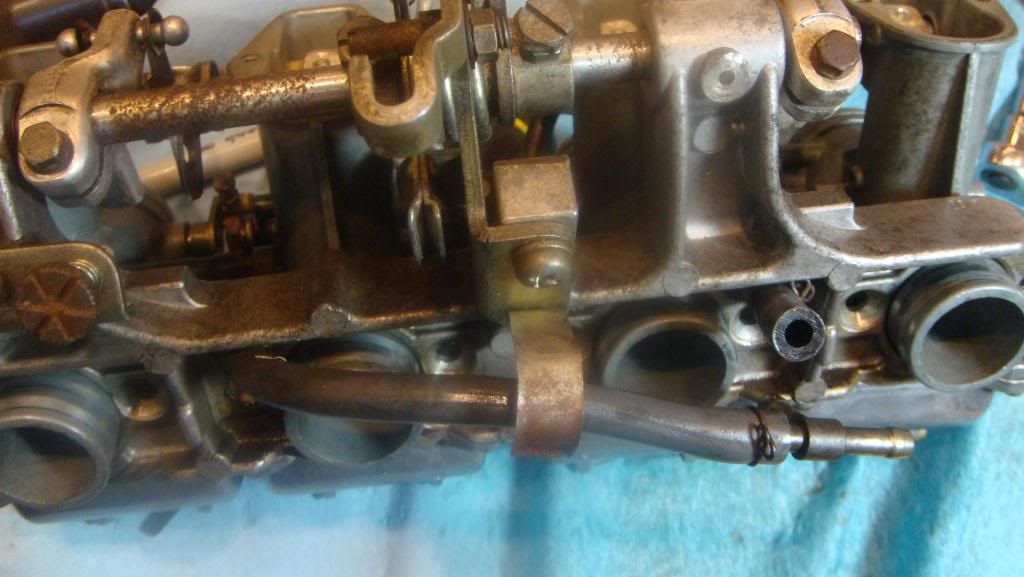
Again, the manifold side for reference
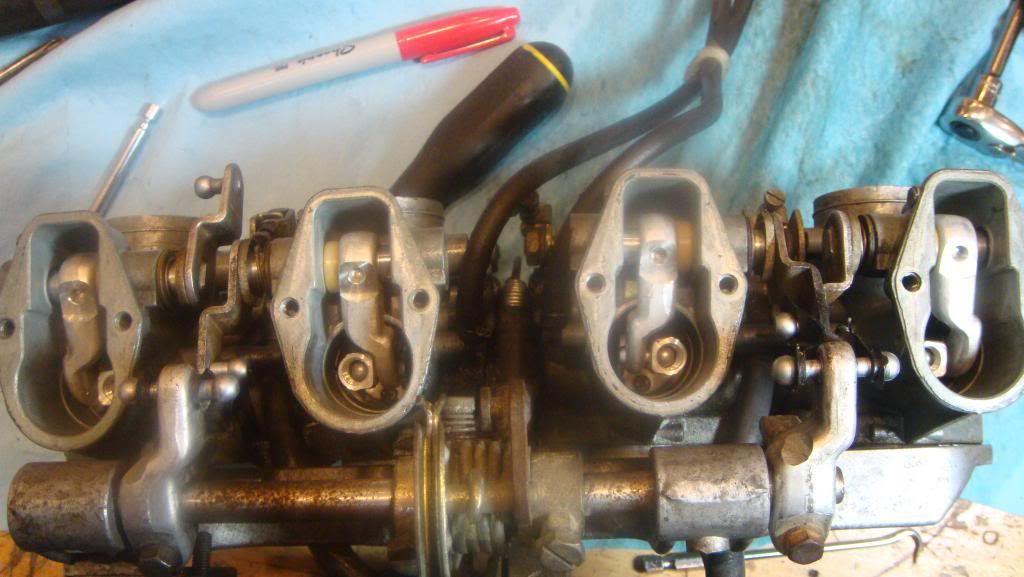
A view from the top. Note the two black lines in between Carb #2 and #3; these are vents, I am assuming, to atmosphere.
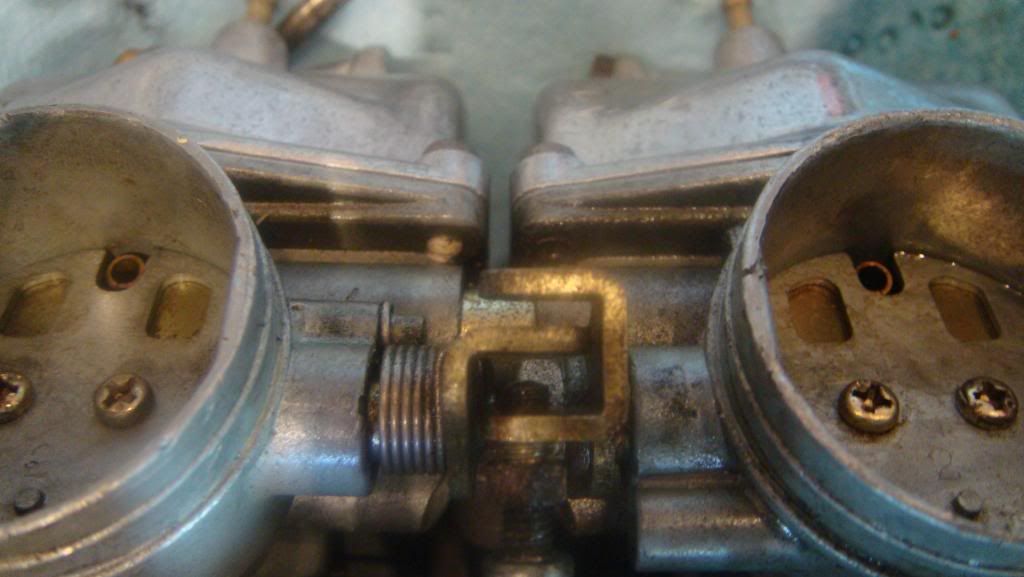
Looking from the Intake (airbox) side as to how the choke butterfly linkages attach to one another
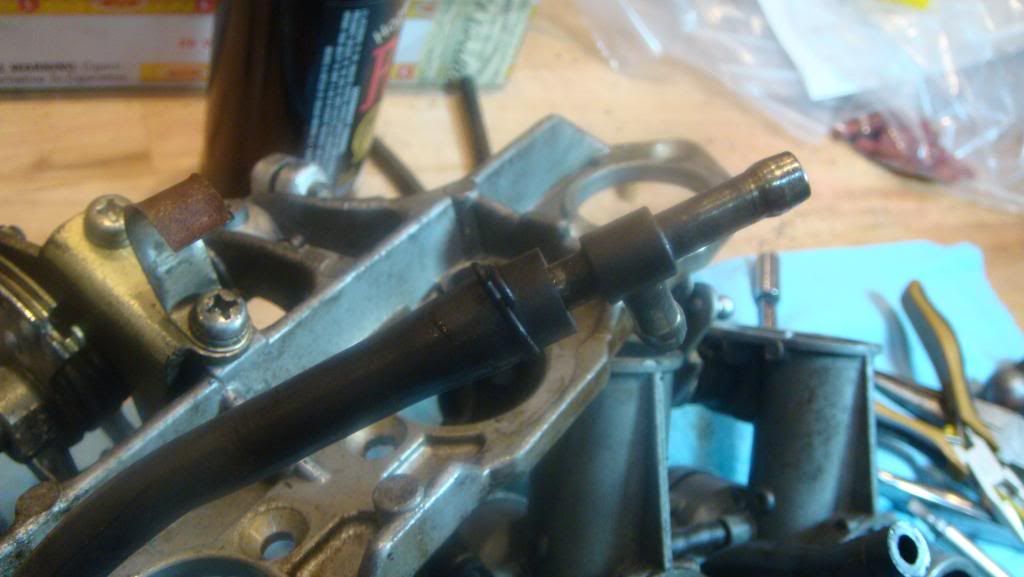
The Fuel Inlet T-line
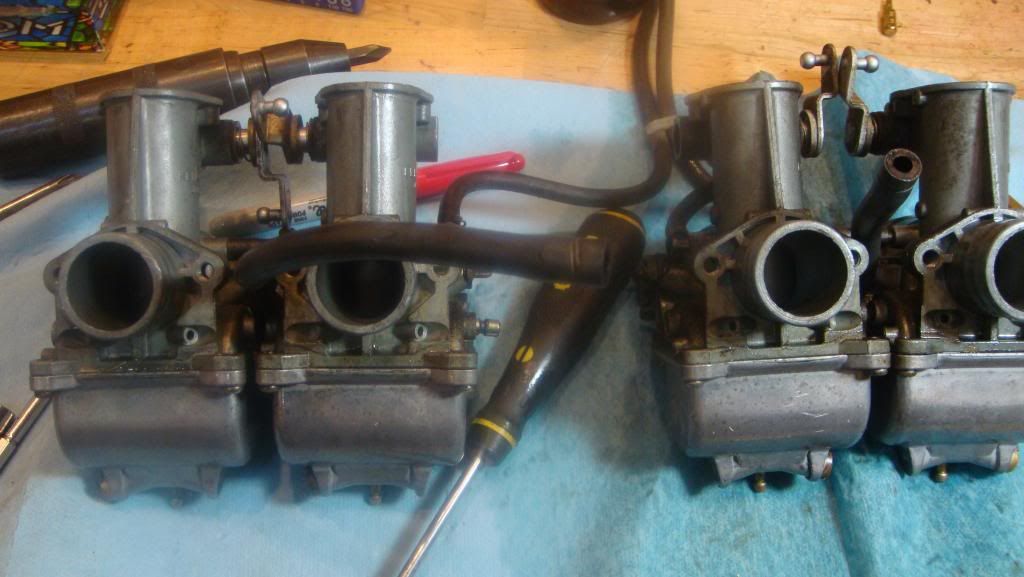
Coming Apart. Note the fuel lines
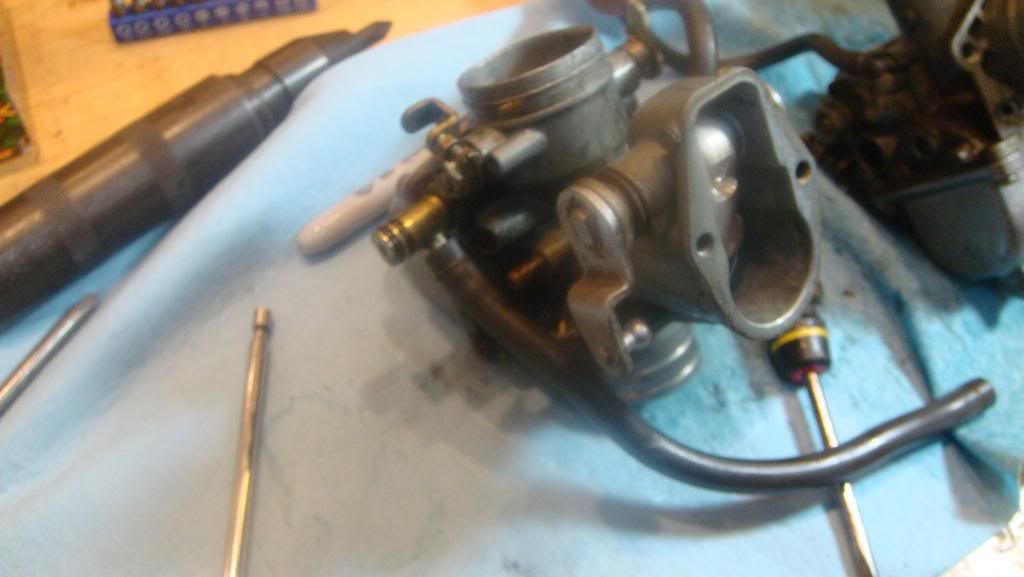
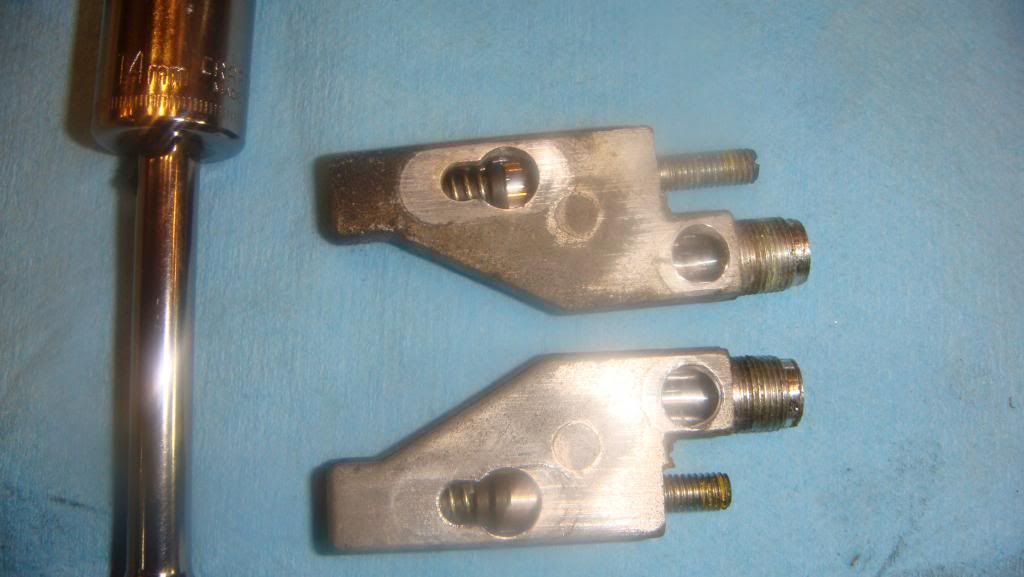
The Carb Side Fuel inlet T-Junction. Note the o-rings, these need to be replaced.
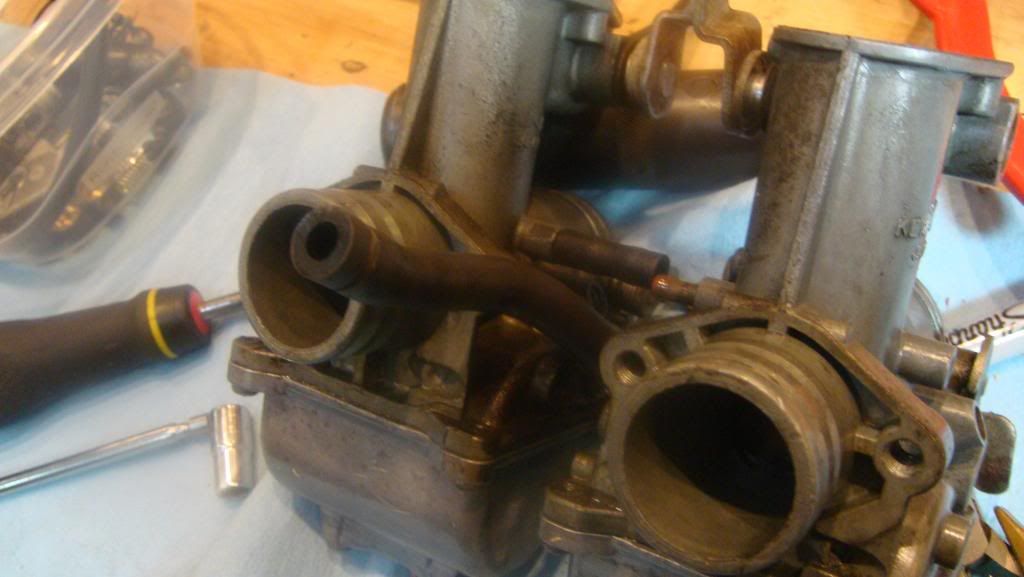
Dirty Carbs
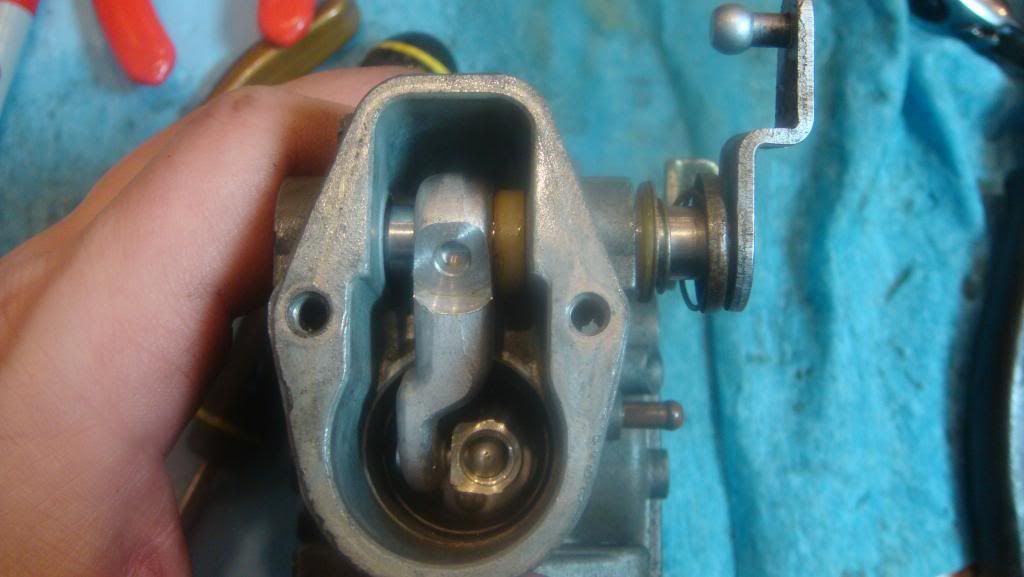
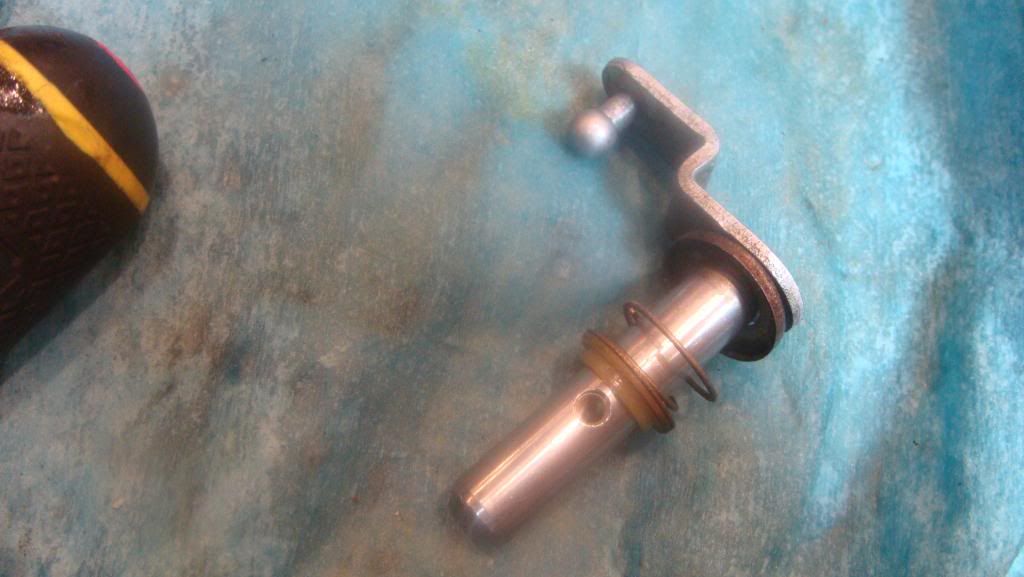
Carb Slide Arm Attachment Assembly. Remember to keep an eye on your felt washers!
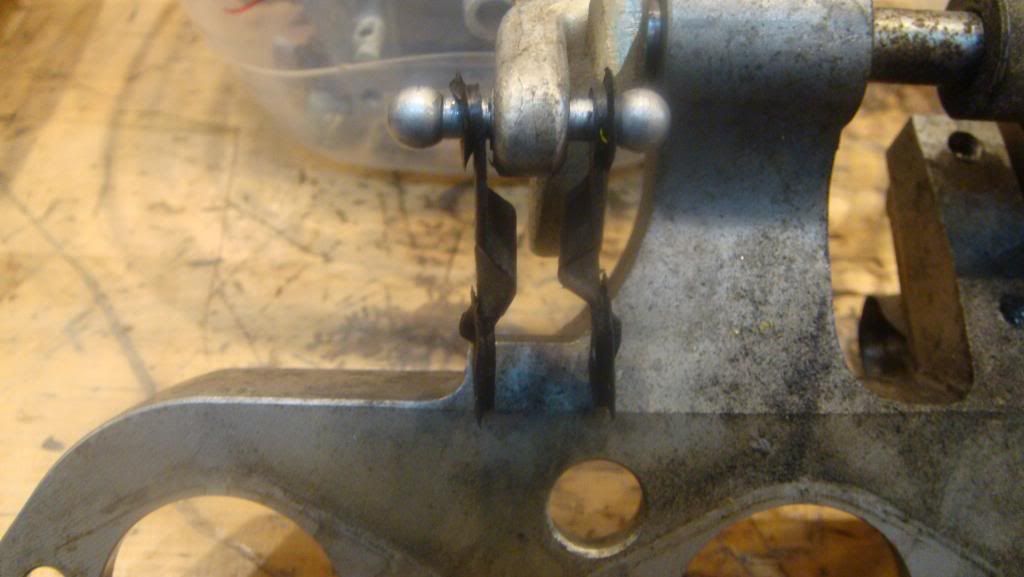
Another view of the rubber attachments and their alignment. Note, they are hanging on the main linkage, and the empty ends attach to the carb slide arms
So, here is where I thought I took pics, but apparently, I did not. I proceeded to disassemble the carbs. I used 4 large Tupperware Containers and four small ones – each one labeled one through four. Each carb was taken apart, and put into its corresponding large container. I could not get the jets, floats, needles, etc. until the fuel mud was out of each carb, so the smaller containers were labeled and set aside for later. Each carb had it bowl removed, and then soaked in the SG/Water mix until the goop was dissolved out of it. Each carb got a fresh mixture. It was not enough to get the smaller pieces out, so I put the entire body into my Ultrasonic Cleaner. I use water with a mix of Citrus Ajax Dish soap and Lemon Ammonia. I let the ultrasonic action go for about 20 minutes to degas the water. Once I see ripples at the surface, I know I am good to go. I let the action work on the carbs for a good long while, first on 40 KHZ and then at 20 KHZ. It worked alright, the passages were very clean, but the bodies were still dirty, and showing corrosion. Also, the aluminum was darkened. I knew after soda blasting them, they would look better, but that comes later. As I mentioned above, I was then able to disassemble the jets, emulsion tubes and floats.
I then put the innards in the ultrasonic, keeping each carb’s internals separate. Here is where the Ultrasonic really shined. Everything came out shiny and clear of fuel gunk.
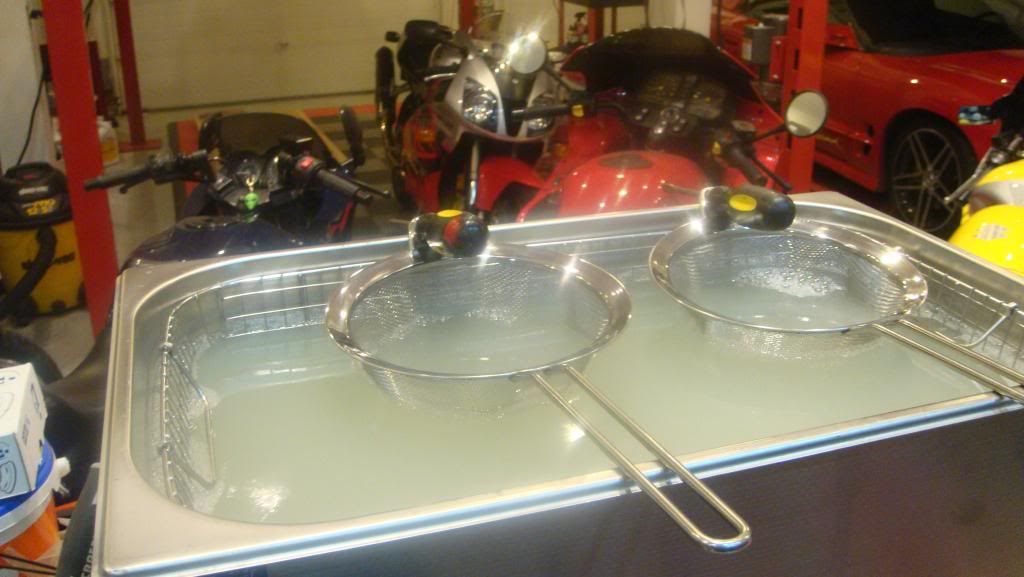
The Ultrasonic working on the carb innards, each strainer holds the parts from a single carb
So now I went to work on the Float Bowls, Carb top caps and other items. I put the bowls and caps into my vibratory tumbler using medium grade walnut shells with a couple of generous dollops of “Blue Magic Metal Polish”. At that point, I had to go back to NYC, and forgot that I had left the tumbler on. OOOOPS!
Well, five days later, the result was astonishing…. They came out gorgeous. So I then left the other pairs in for a bunch of days. Same results.
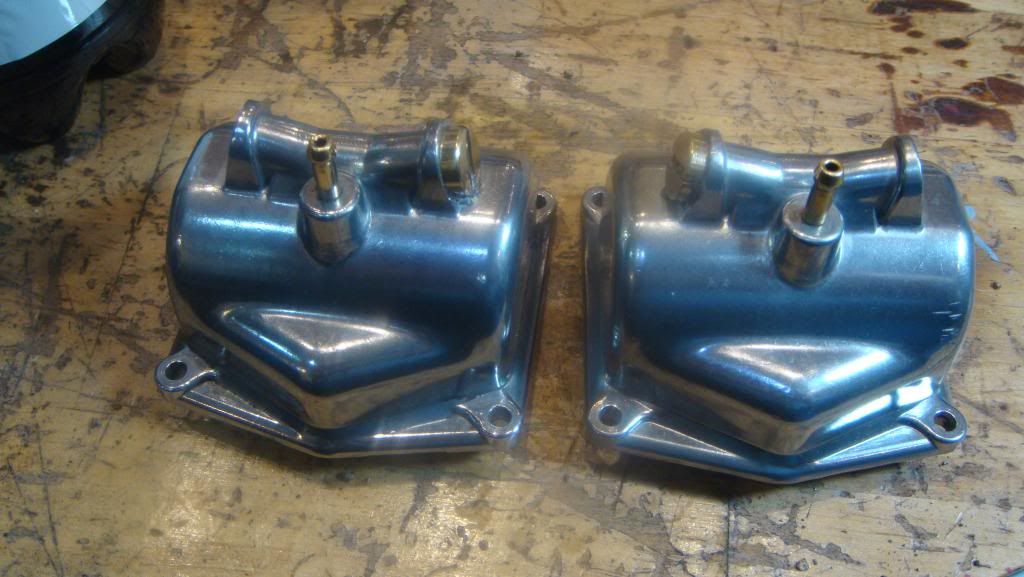
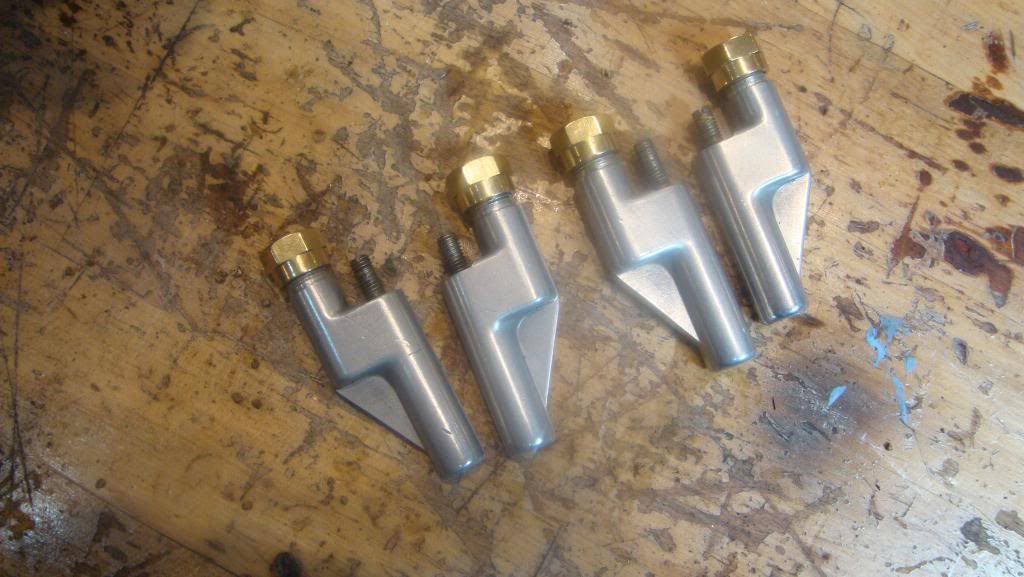
The Pics do not do these pieces justice. They look like I polished them on my buffer!
I then decided to take my shot #2 Body and see what would happen if I used the same process, but with fine grade walnut shell and metal polish. Well, it will work, but my Tumbler Bowl was too small, or I did not have enough media inside. The carb vibrated a hole in the bowl.
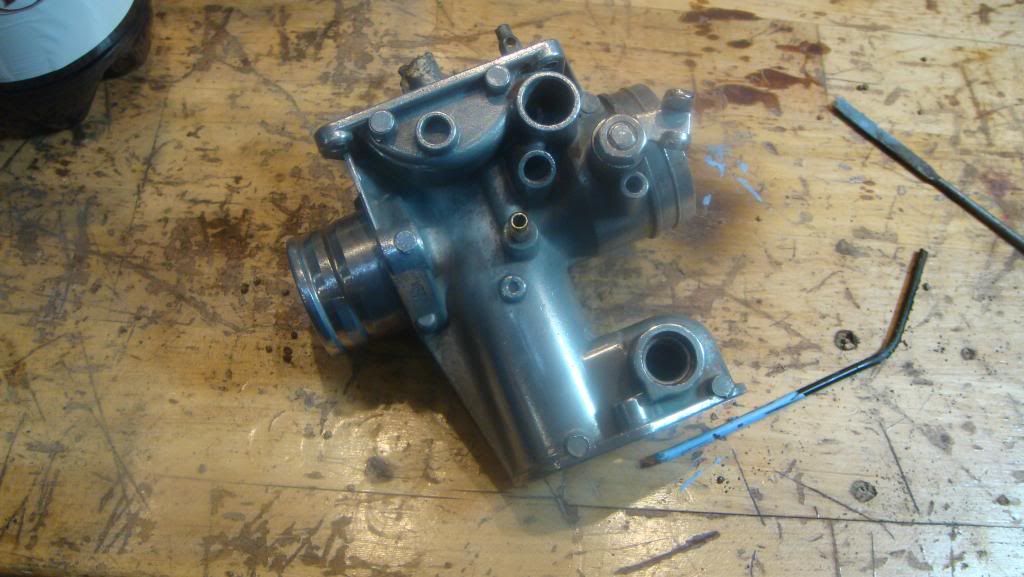
You can see where it is starting to glow like polished aluminum. I have a plan, but I am waiting for Harbor Freight’s 18lb Tumbler and Ceramic Polishing media. I think with the media and liquid it will be gentle enough to get a beautiful sheen on the carb bodies without having to worry about chasing the walnut shells out of the passages – although that is super easy with my air gun and brake cleaner.
I will update in a bit.
Gersh